Guest contribution
Simple ways to get creative with photography
Photography is a fantastic art form. There's something for everyone. Some people like to take photographs while travelling. Others prefer to go for landscape photography. Whether aesthetic, in a documentary style or artistic, photography offers an almost endless range of options for creative types. With just a few simple objects, you can create very atmospheric or even funny photos. And you don't need an extensively equipped studio or an expensive camera to do so. You'll be amazed at what you can create in your own home or just outside your front door. Journey Glimpse will show you how to do it!
You'll have seen them before, these very atmospheric portraits where everything simply comes together as it should. Just the right light, eyes and body position. These are images that awaken a sense of longing. Read on to learn how you can quickly and easily create portraits just like this yourself.
Using the sun to impressive effect
Let's start with an image that mirrors the idea behind the saying “after the storm comes the calm”. The image comes to life through the interplay of light and shadow, as well as the longing gaze that is key to this piece. What is the person in the photo thinking about? What are they looking at? Are they feeling sad, reflective, full of hope? There’s plenty of room for interpretation here. We wouldn’t even really want to reveal what is actually going on here. But what we can tell you is how to create an image like this yourself.
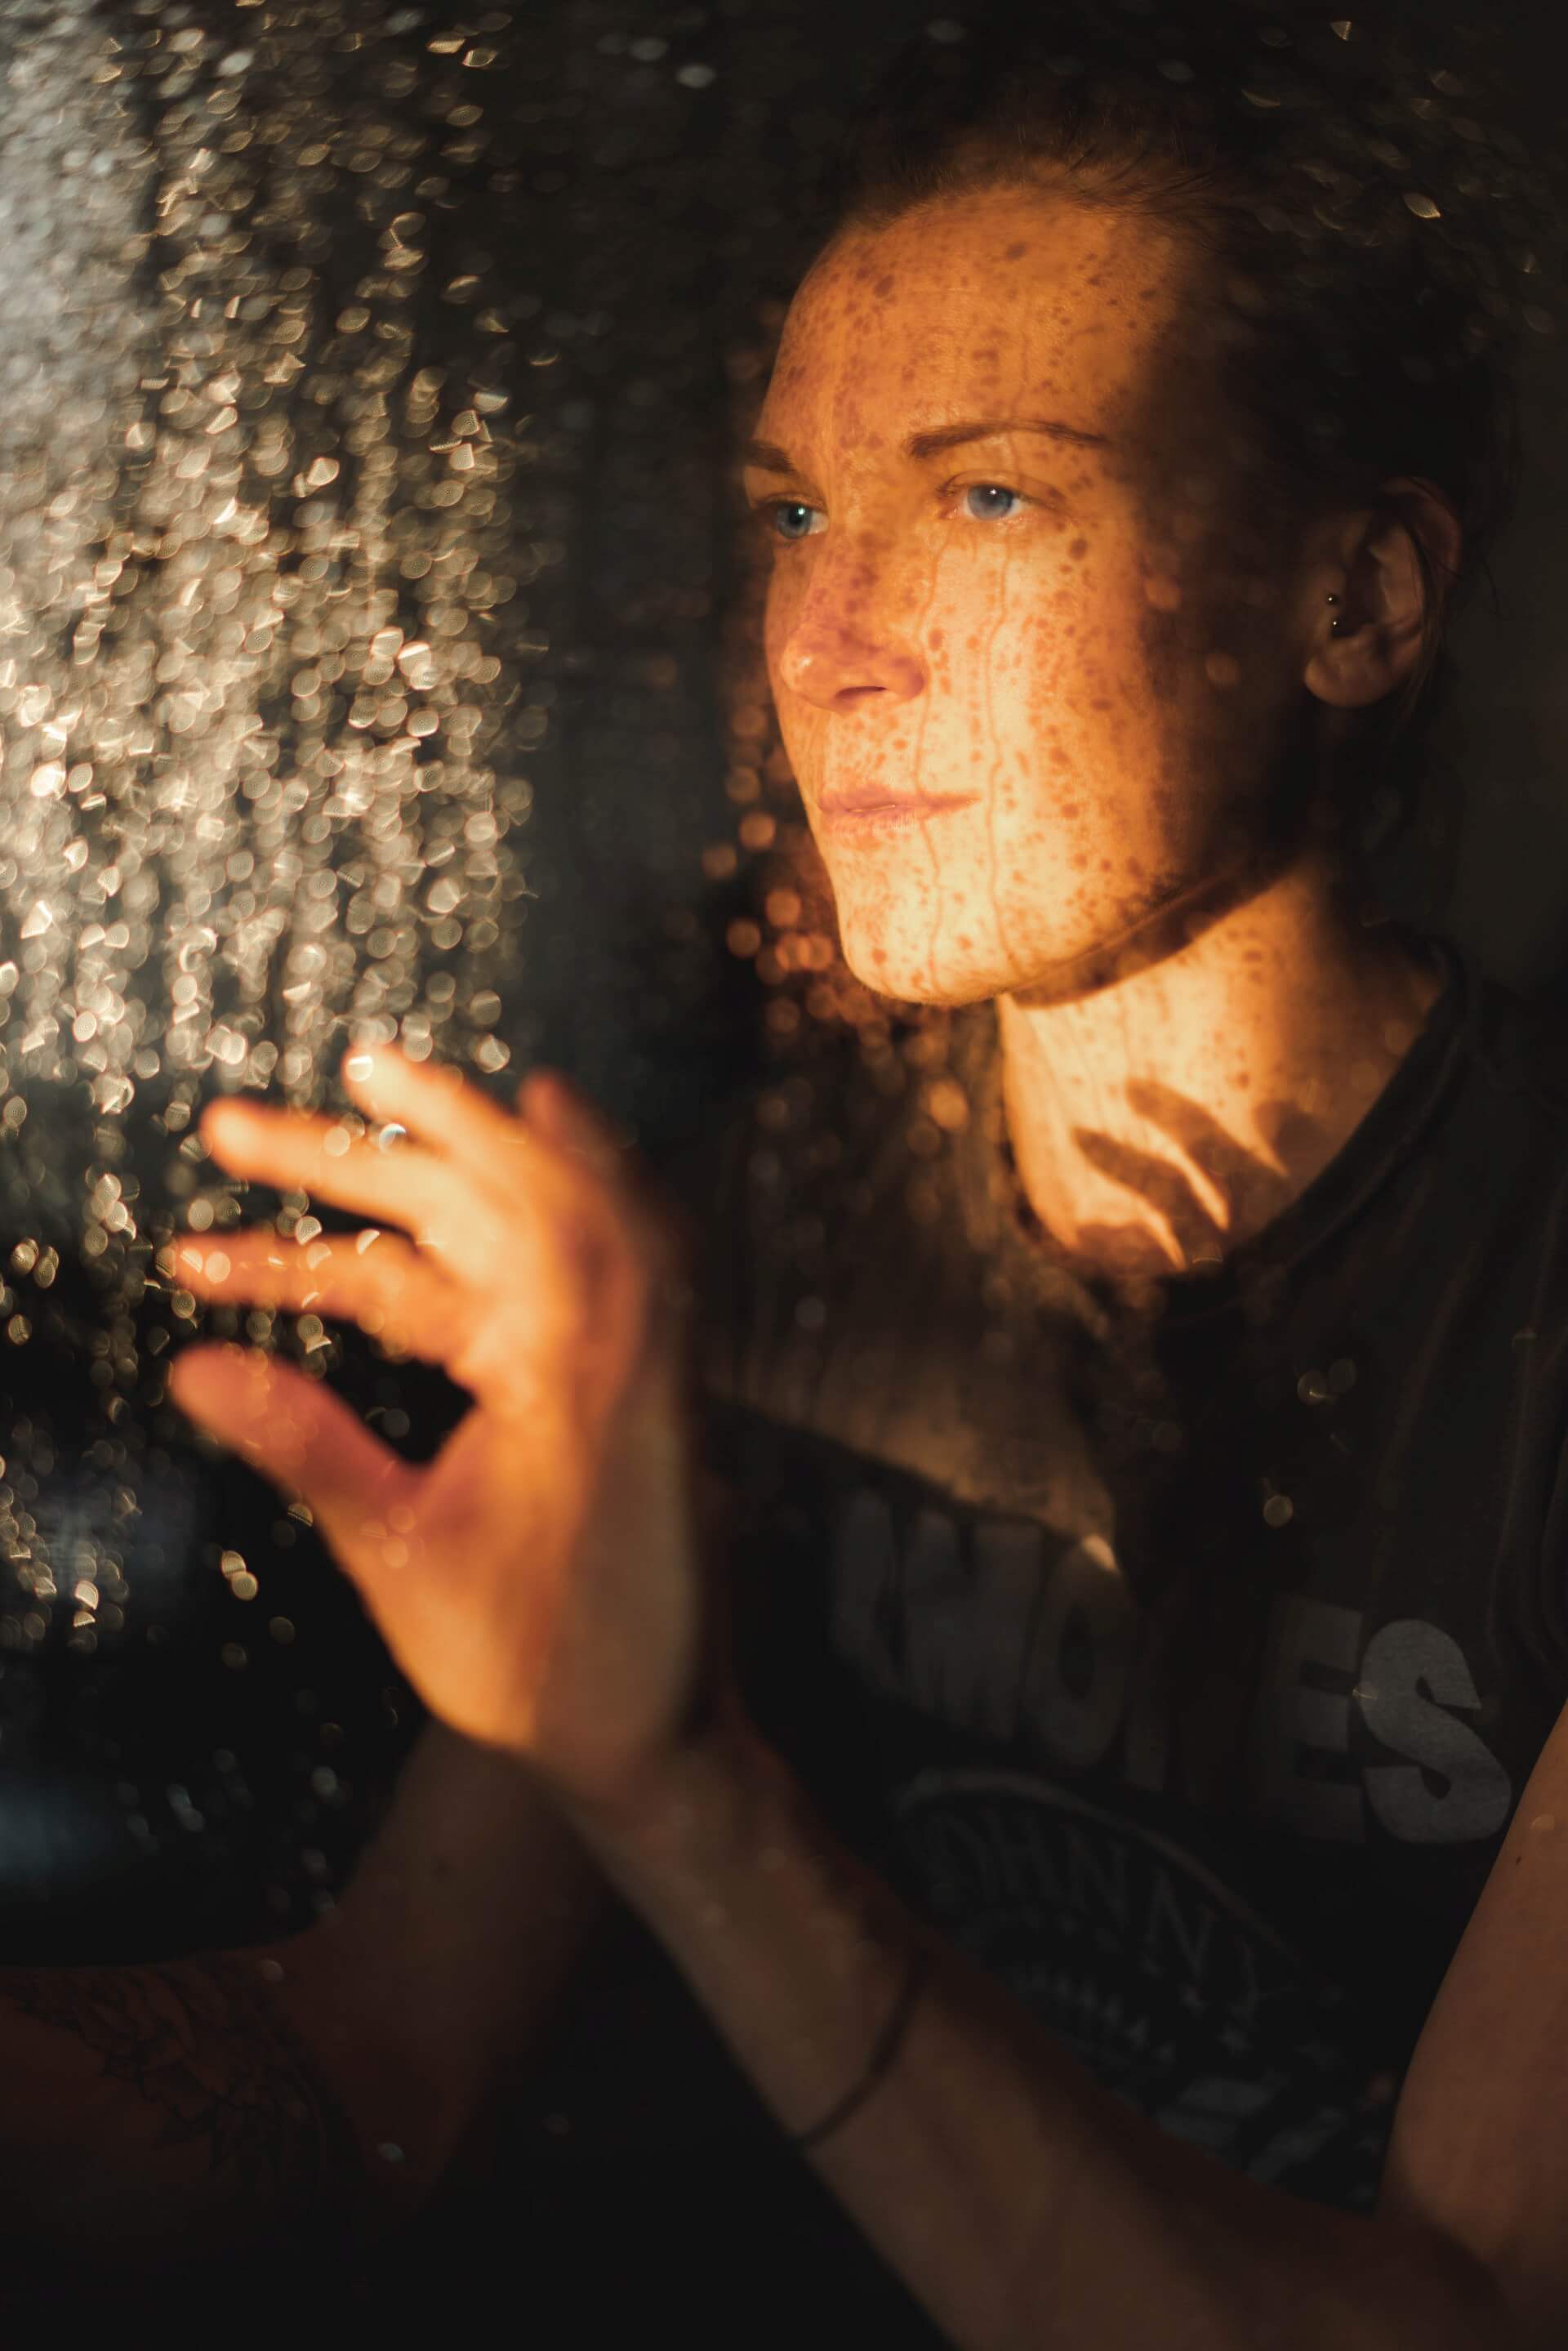
Of course, the first thing you have to do is ask yourself: what do I need to create a photo like this one?
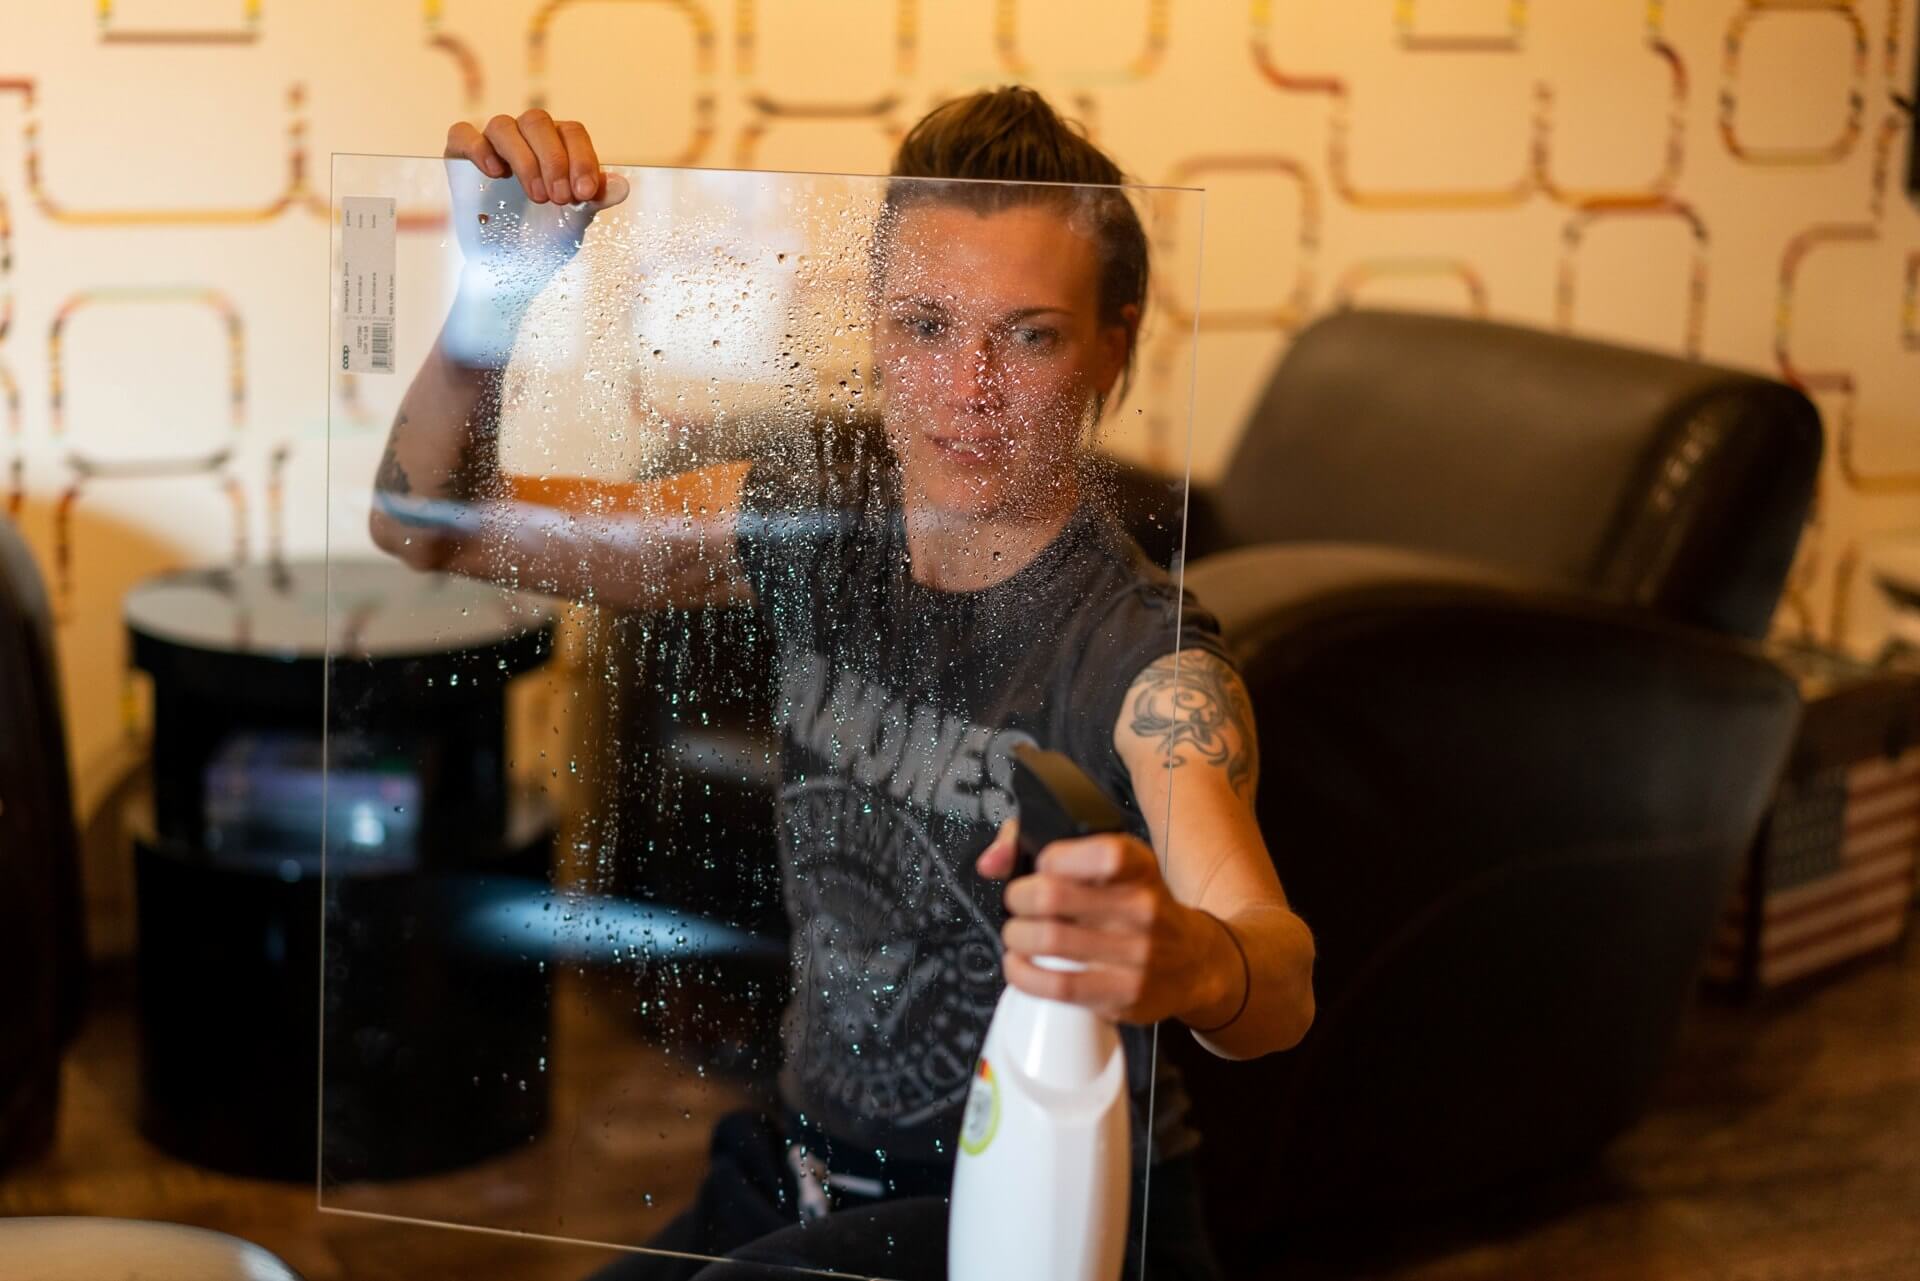
To apply the water to the pane of glass, we used a spray bottle. Alternatively, it goes without saying that an old cleaning agent bottle with spray nozzle can also be used.
A sheet of perspex was also used to create this photo. But of course a window can also be used instead.
We prepared for the shoot by closing the window shutters to make one half of the room as dark as possible. This was so that we could control the light coming in to the room later on. We then waited for sunset and the last light of the day. The light in the “golden hour”, the period of time just before sunset, is a golden yellow and particularly soft – making this photo particularly atmospheric.
We positioned ourselves so that the light coming in fell onto the sheet of perspex, which we had sprayed with water with the help of the spray bottle beforehand.
The photo was shot using a Sony Alpha 7R III and the Sony FE 55mm f/1.8 ZA Zeiss Sonnar T lens, with an aperture of f1.8, exposure time of 1/80 s and ISO 400.
To create this interplay of sharpness and blur, we worked with the aperture open as far as it will go. It generally makes things easier if you choose a lens that has as wide an aperture as possible. Manual focus is used to focus on the eye seen on the viewer’s left. But naturally you can also choose to focus on the other eye instead. You will have to decide for yourself which option you like best.
When taking photos, you should ensure that, as the photographer, you position yourself such that you don’t cast any shadows onto your subject. The photo will also be more expressive if the person places their hand on the pane of glass. This lends the photo more meaning.
And all this against such a simple setting. It’s amazing what you can achieve with just a spray bottle, a pane of glass and the right light.
External light sources for atmospheric images
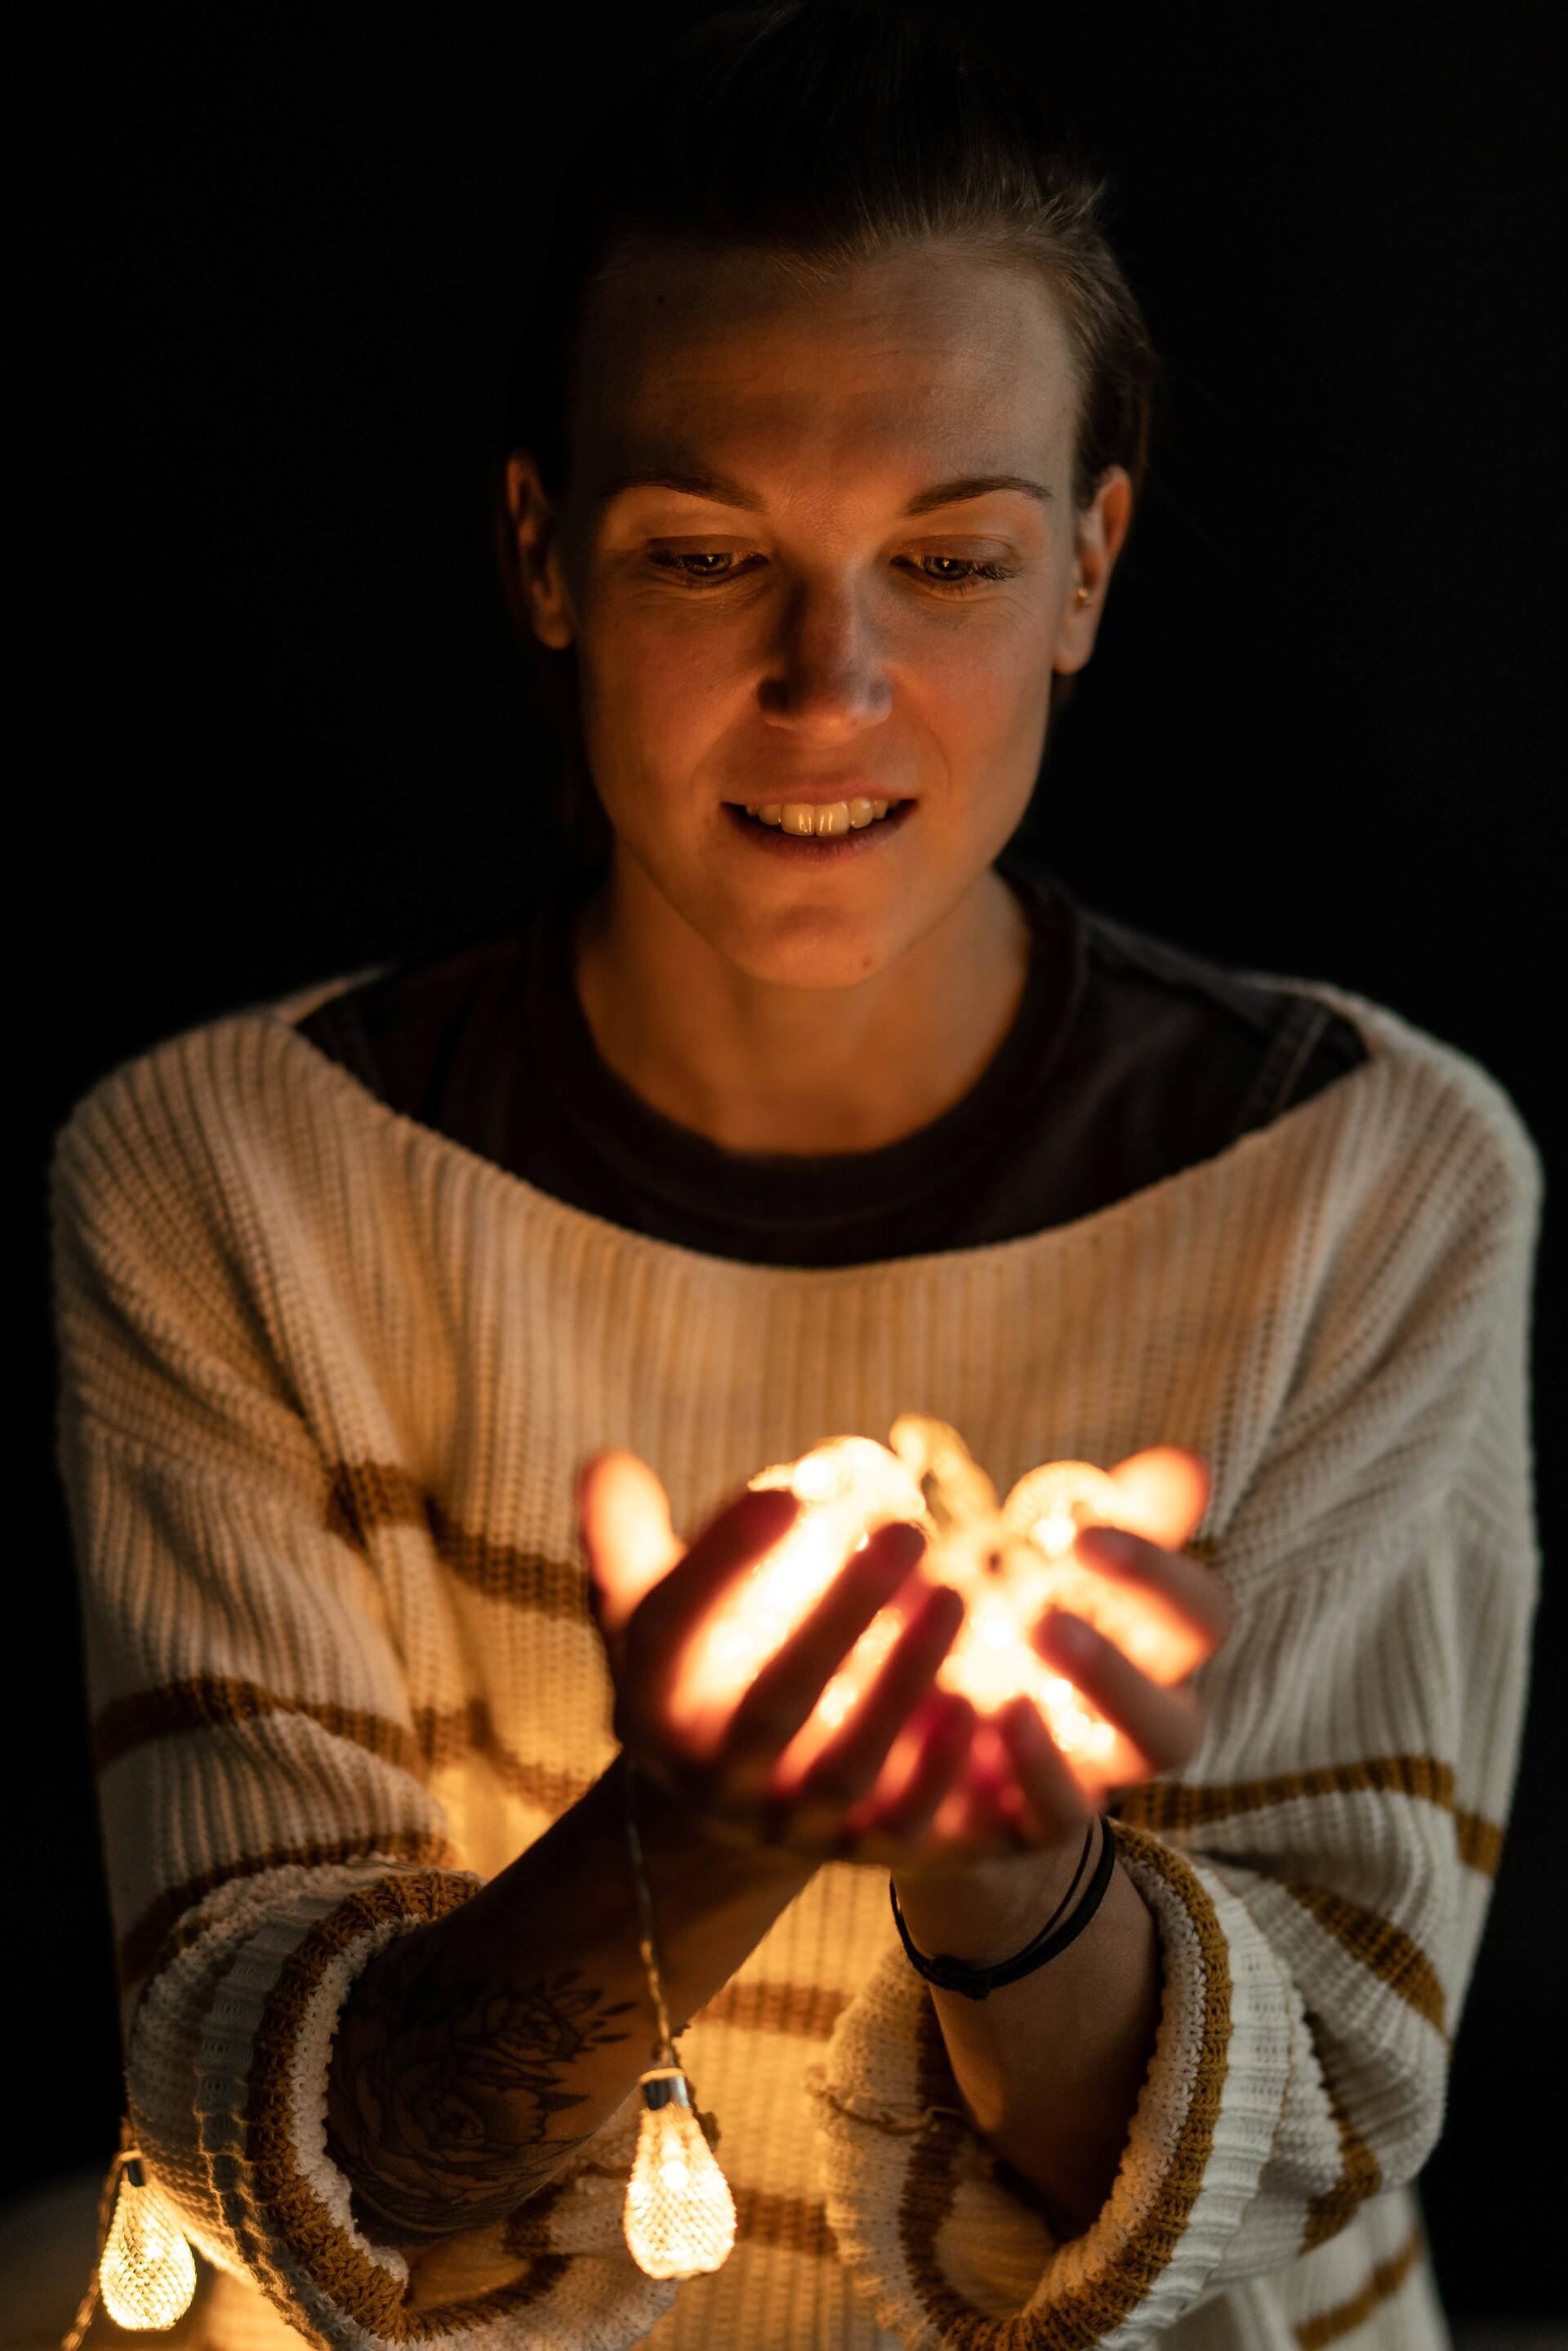
In addition to sunlight, external light sources can also be used to create a faraway or atmospheric look. A string of lights works particularly well for this. To give these images a somewhat mystical look, we recommend using a dark background and making the room as dark as possible.
All you have to do after that is position yourself correctly. The model holds the light source, and the photographer takes care of the rest.
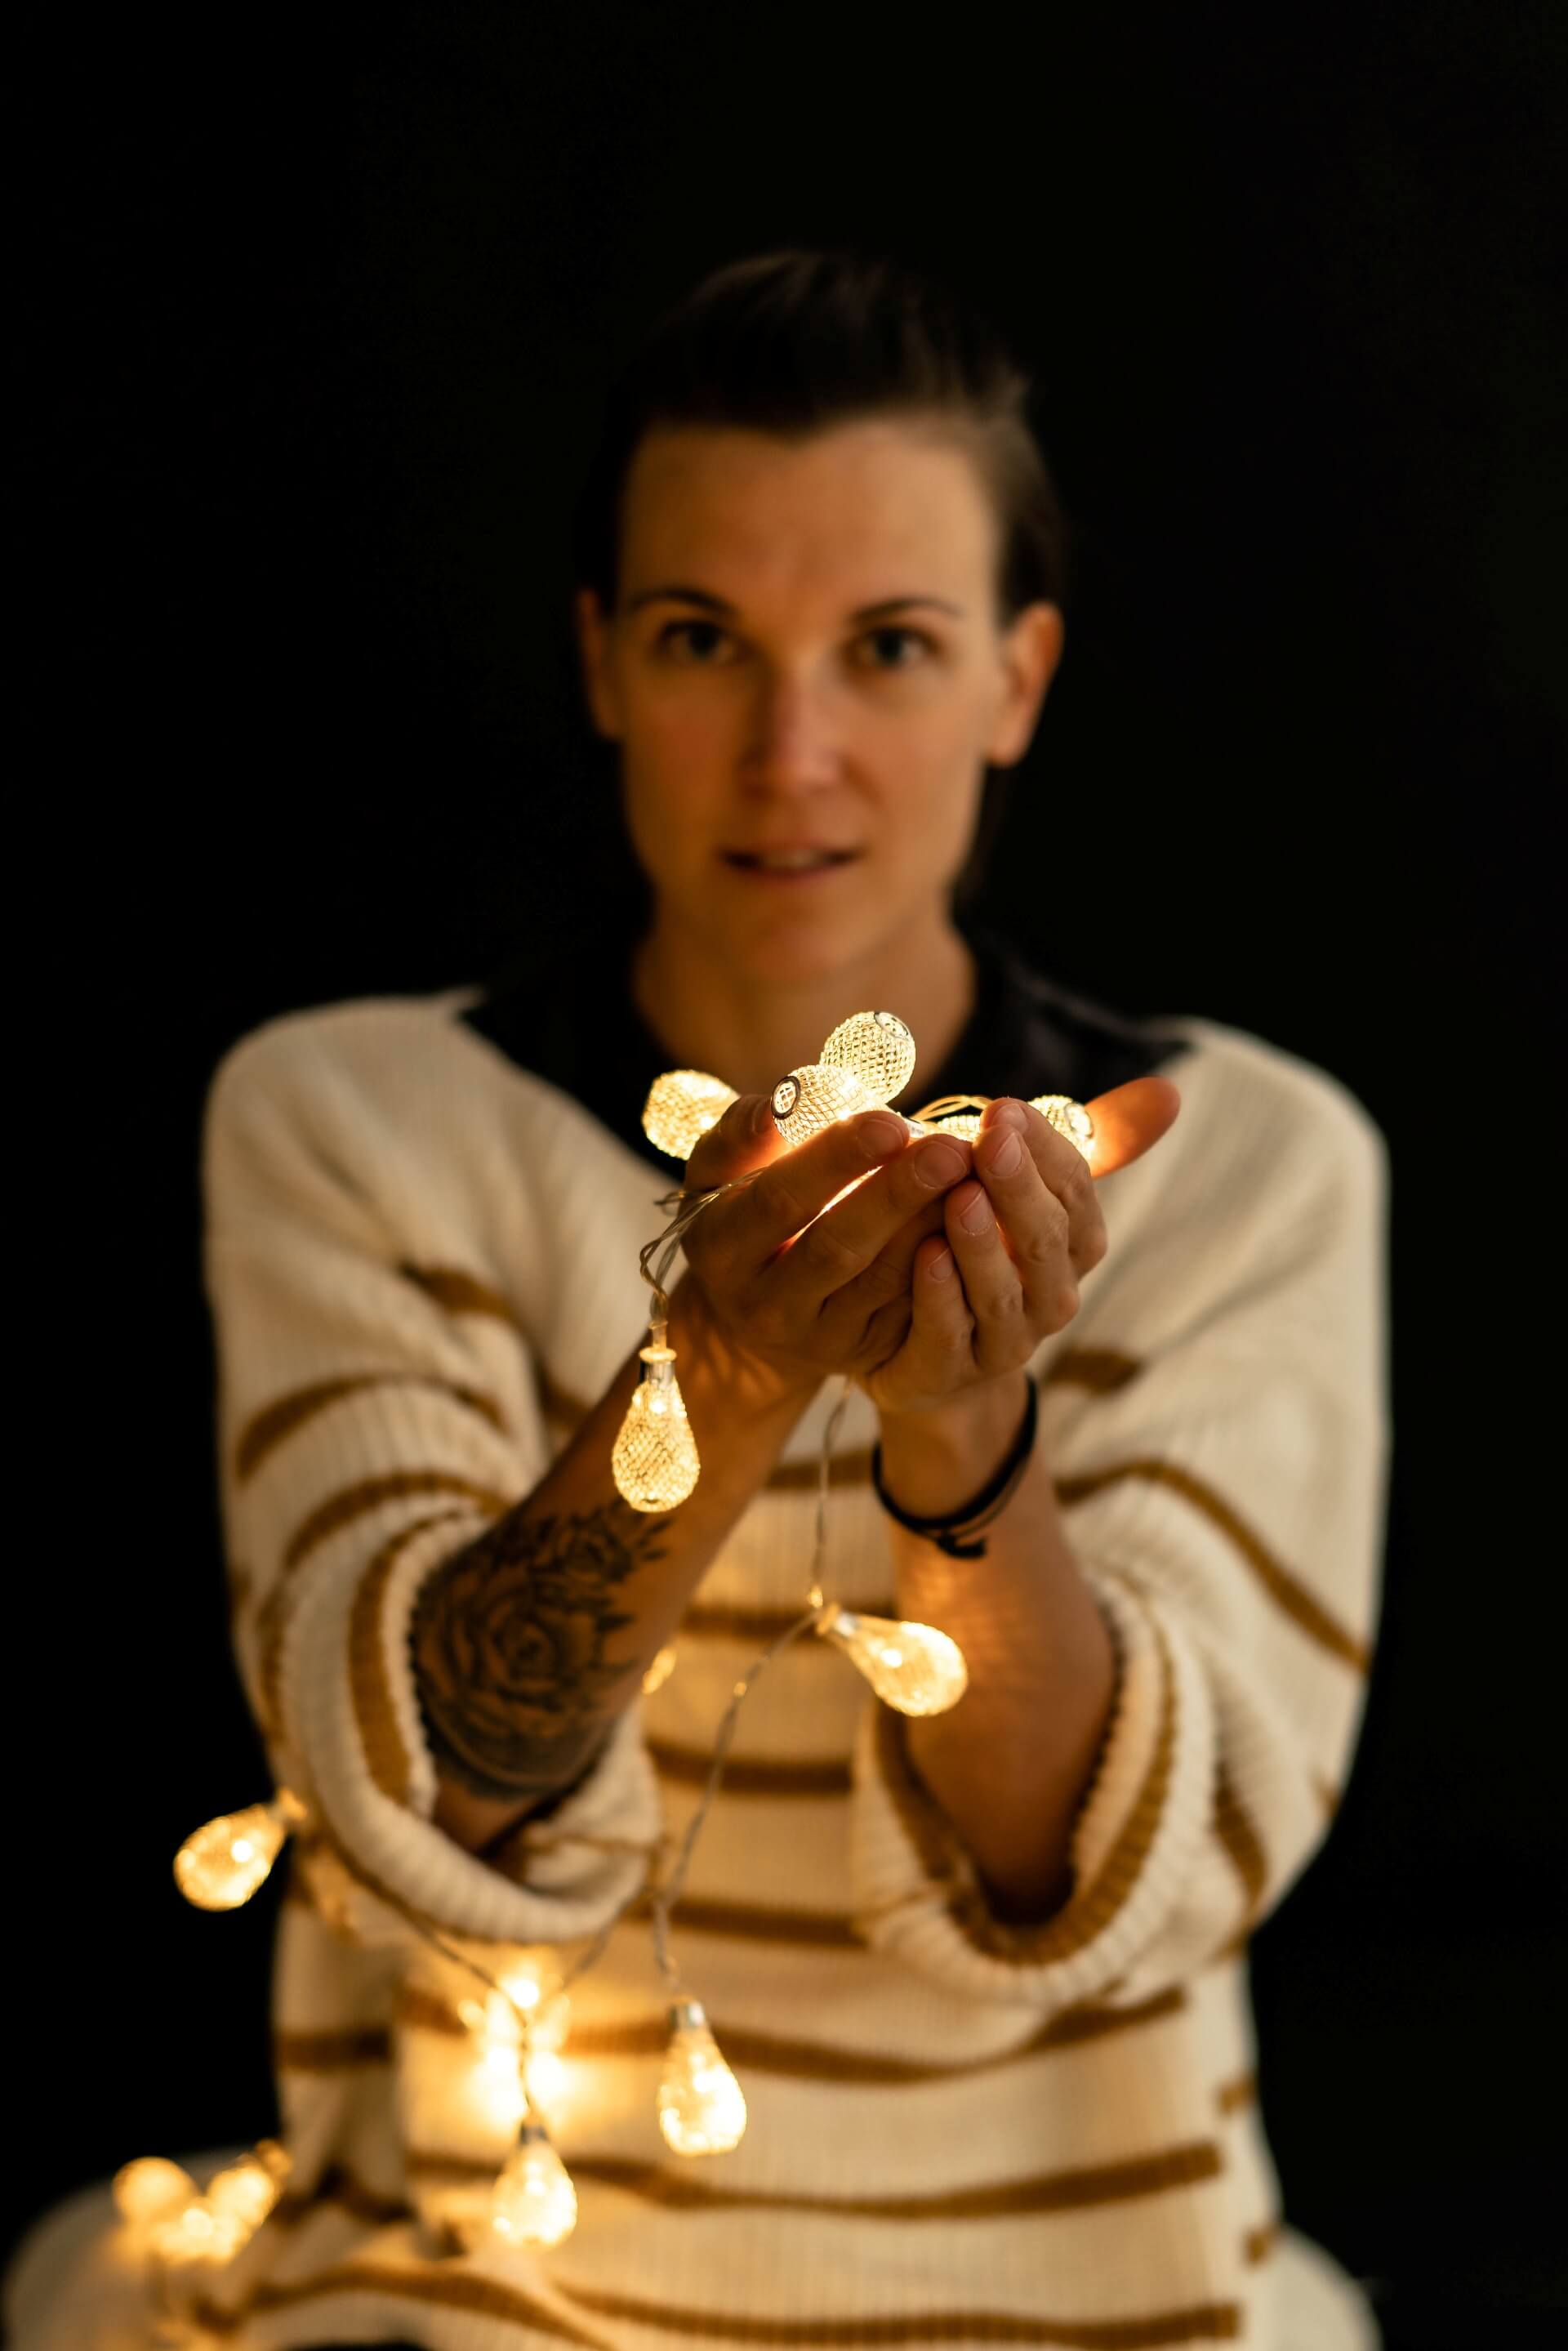
These photos were shot using the Sony Alpha 7R III and a 55mm prime lens. The aperture was open as far as it would go at f1.8, the exposure time was 1/60 s and ISO 500.
Here too, the aperture is opened as far as it will go in order to combine sharpness and blur in the one image. The decision as to whether the focus is on the end of the lights, as seen above, or on the person, as seen below, lies with the photographer. The effect is a matter of personal taste. The focus was set manually. Depending on the camera, autofocus may have a hard time in such low-light environments. That’s why it’s worth focussing the camera manually.
With the setup described above, the subject will more or less disappear into soft focus, depending on how far you’re standing from the person’s hand and the string of lights. The perspective is another deciding factor. Taking the photo slightly from above is recommended. This will make the photo inherently more consistent.
But photography is generally all about trying out different approaches, changing perspective and seeing what comes out of it. There’s no right or wrong way to do things. If you like it, it’s worked. You can also experiment using different focal distances. And why not also try switching between portrait and landscape now and again? The environment could also be included in the picture. Creativity knows no limits here, and the hours will fly by if both model and photographer are having fun.
Using a kitchen strainer to achieve special light effects
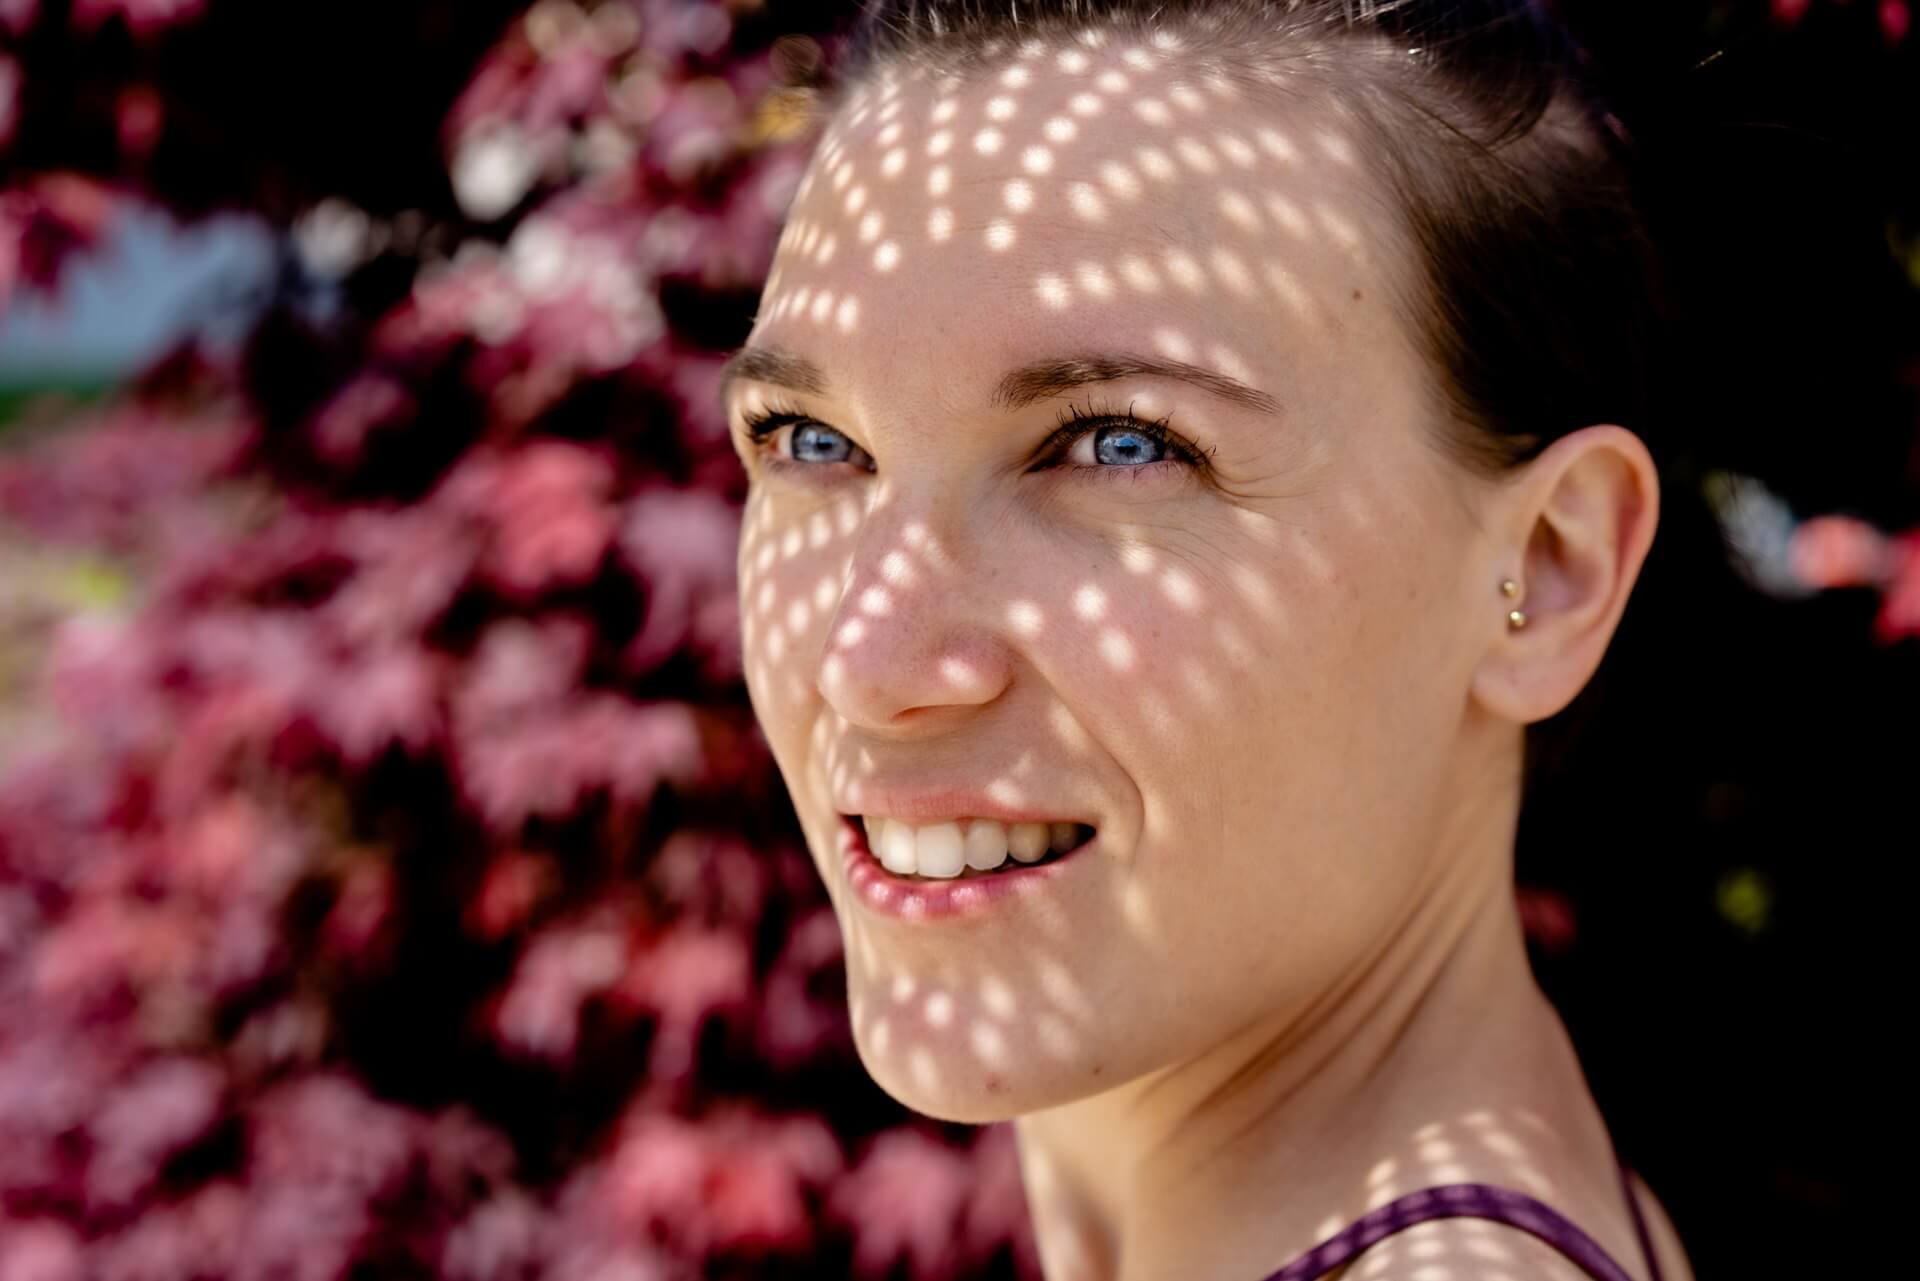
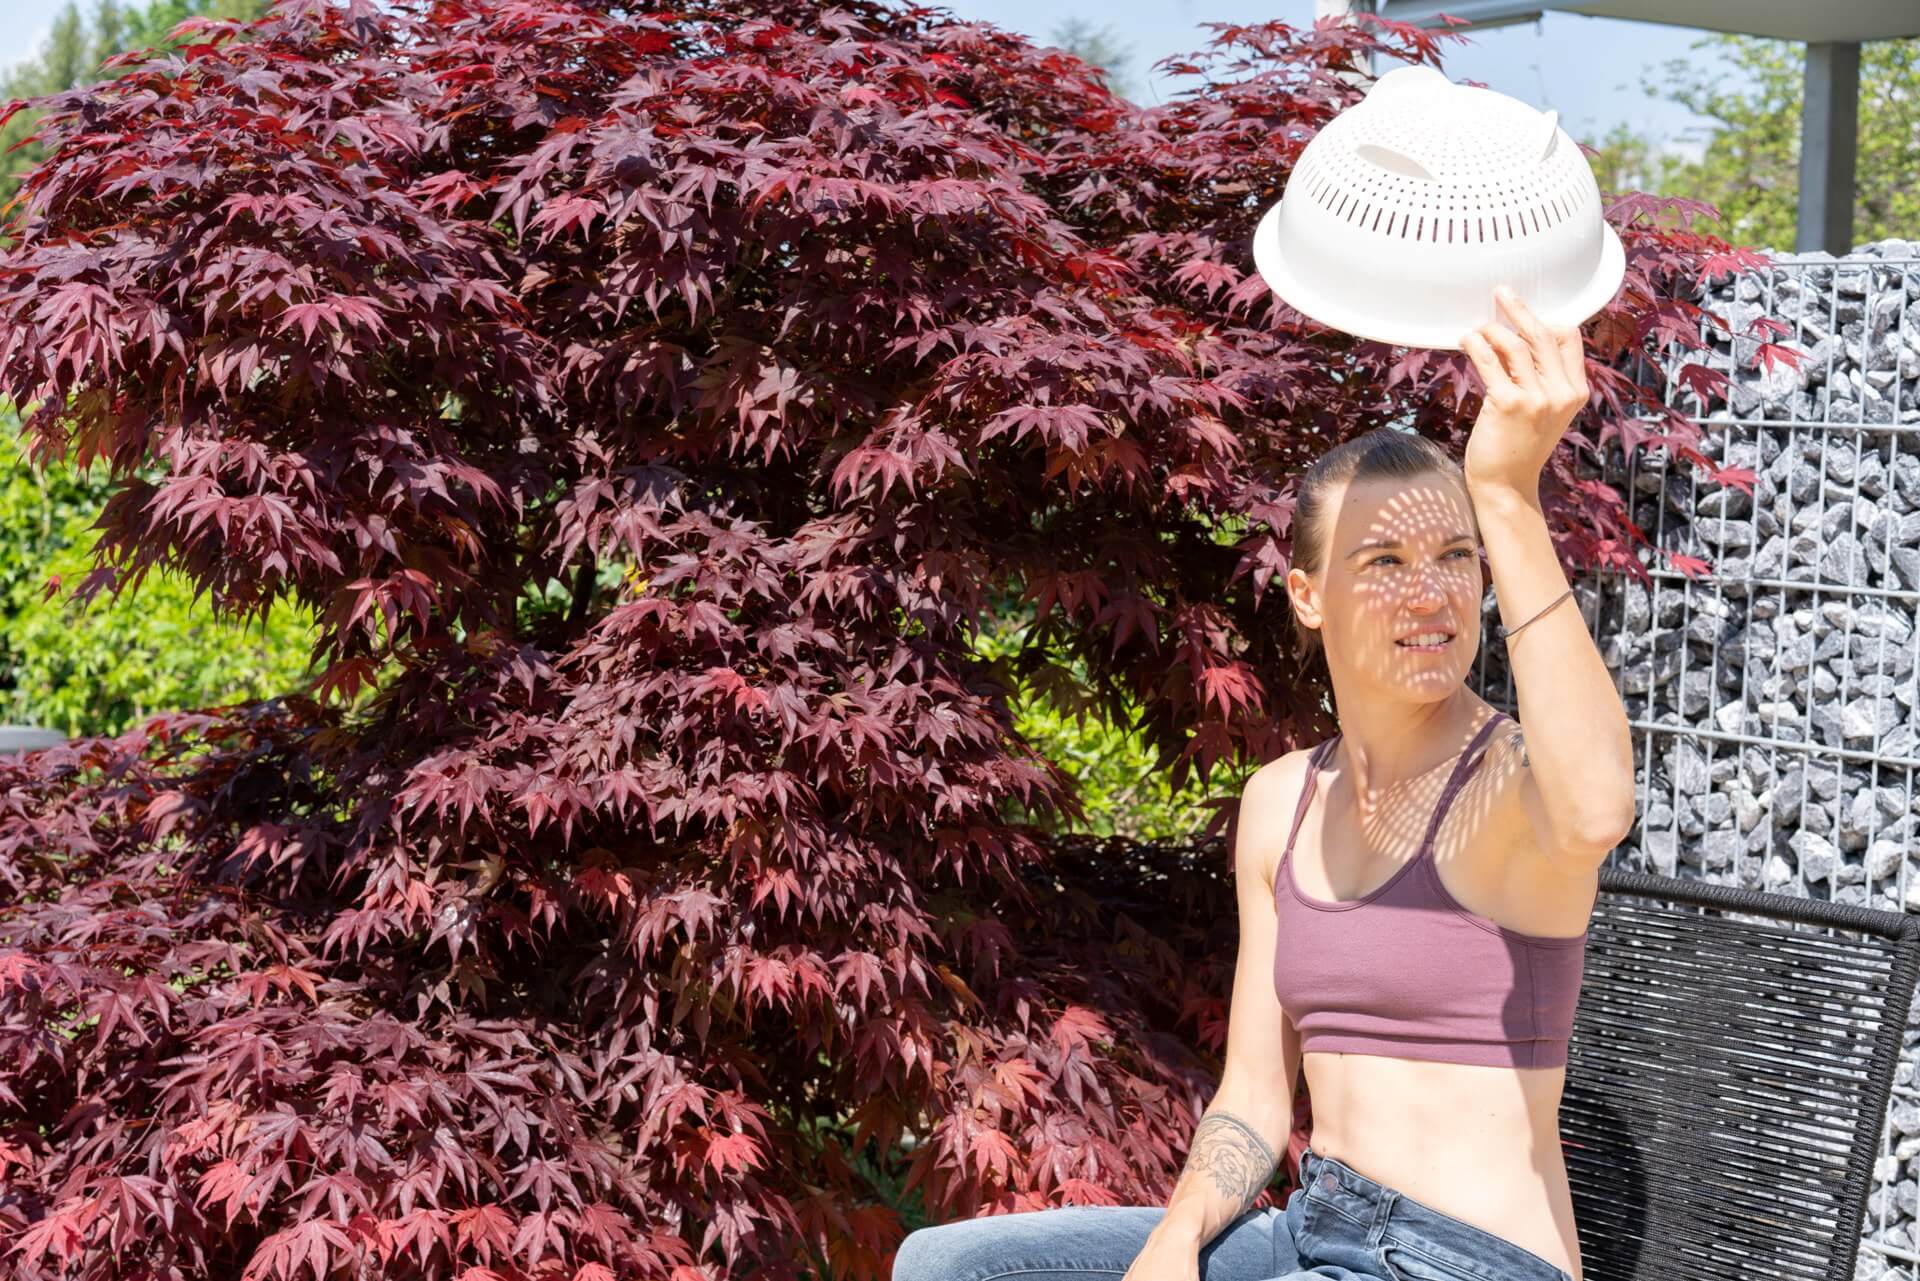
All those who enjoy eating pasta surely have a kitchen strainer at home. These are not only helpful in the kitchen, but can also be put to good use in photography to achieve an exciting interplay of light and shadow.

For this photo, you simply need a kitchen strainer and either daylight or an external light source. Your model then sits on the chair, the ground or wherever the photo is being shot, while holding the strainer in their hand. It’s then up to the photographer to position the strainer so that the shadows and spots of light fall optimally across the model’s face. We positioned the middle of the strainer over the model’s forehead for a symmetrical effect. But it’s important to remember here too: If you like it, it’s good. That’s why it’s well worth trying out different options and experimenting with where the light hits.
For this photo, the same camera setting was used as for the other two photos. It was taken with an aperture of f4.0, exposure time of 1/320 s, and ISO 100.
Since light and shadow play an important role here too, it is important to ensure that, as the photographer, you don’t cast any shadows onto your subject. The photo becomes particularly atmospheric when the background is somewhat darker, as with the red maple used here. This ensures that the light really comes into its own in a way that it wouldn’t have done otherwise.
Admittedly, holding the strainer over your head like this looks pretty funny. But the light effect that it creates is well worth it.
Playing around with opacity
In contrast to all other photos, the “moody dance photo” can be created without the need for any additional tools at all – aside from photo editing software of course. A background that is as neutral as possible is beneficial for this photo. The secret behind this image lies in taking and processing several photos, which are later consolidated into a single photo.
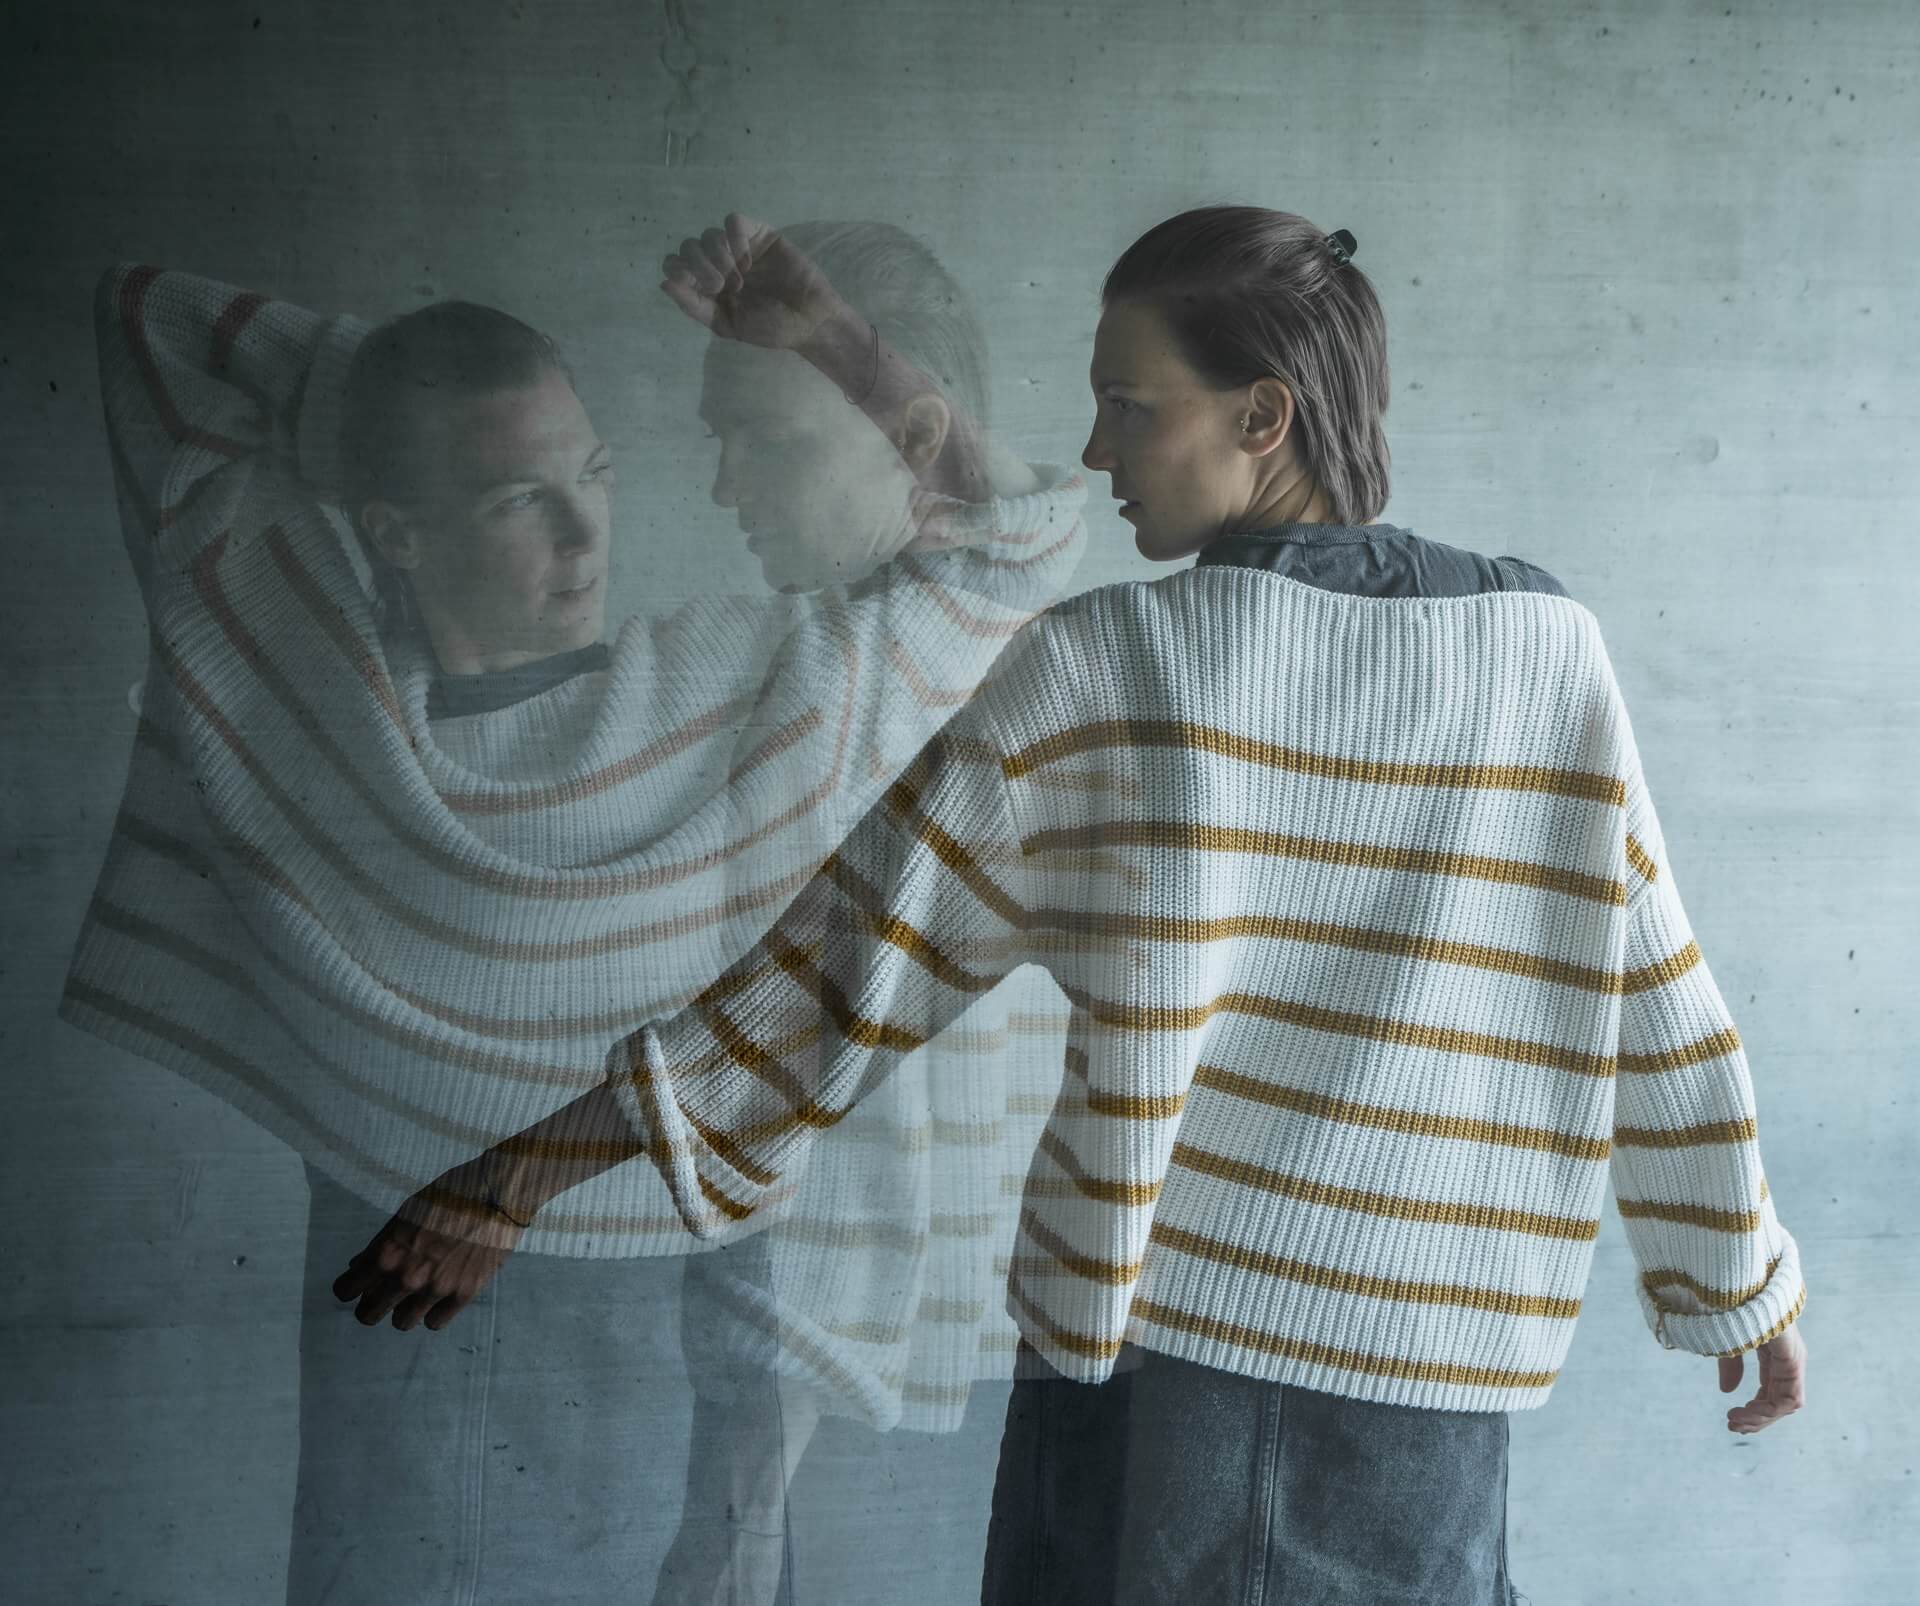
These photos were shot using the Sony Alpha 7R III and the Sony G-Master FE16-35mm F2.8. The focal distance was at 29mm with an exposure time of 1/125 s, an aperture of f4.5 and an ISO of 640. The settings naturally always depend on the light situation at the location and can therefore vary considerably. The aperture should not be completely open, as with the other photos, since we want to avoid a low depth of field here.
And here’s how it’s done: Let your model assume various poses in front of the wall. Although the end result will make it seem as though the person is dancing, it is easier for you as the photographer if the person stays put for each pose. This way, you can stop the person from becoming blurred due to the movement. If the person were to move and we work with an exposure time that is too long, the person would then appear blurred in the photo once it is taken.
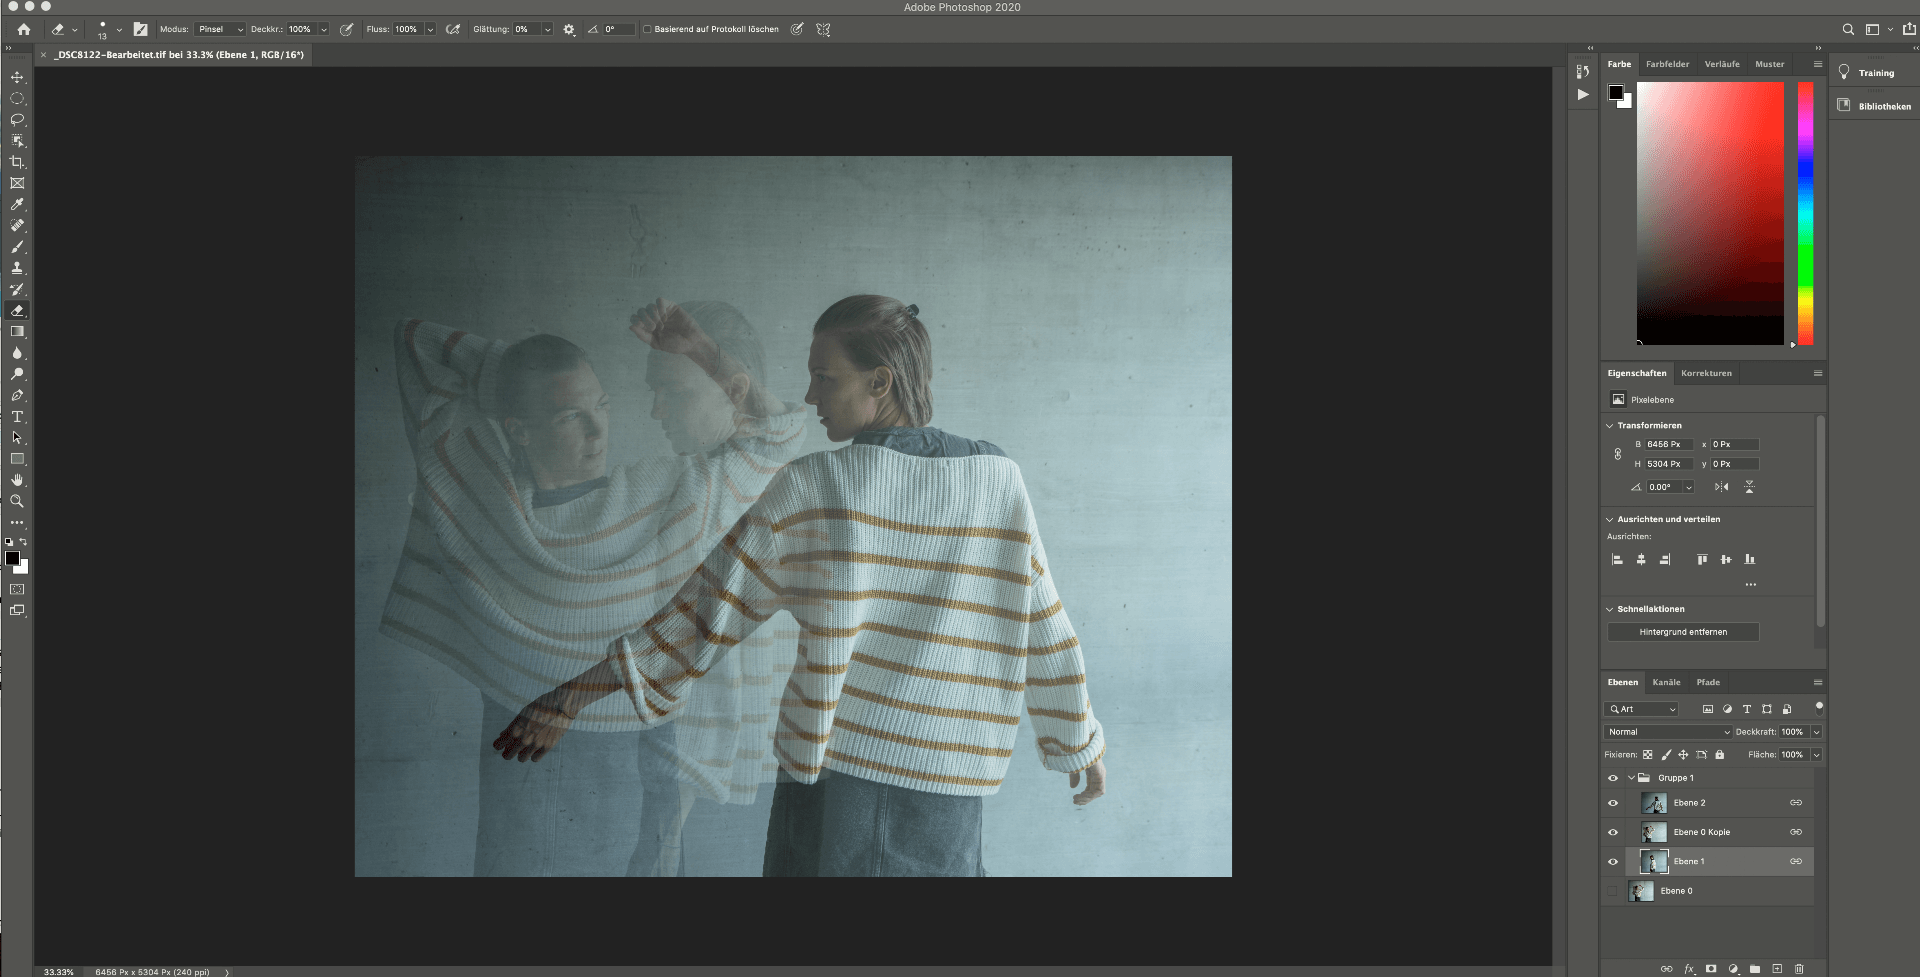
To get this final composition, you need to import the photos that were taken into a piece of software such as Photoshop. What is important here is that each image is on its own level. You can then start to play with the opacity of all three levels until you have a result that you are happy with. If your background contains distracting elements, you could remove these using the Healing-Brush-Tool.
Even more of a wow effect through photo editing
With the right light, SOOC (straight out of the camera) photos in JPEG format look great all on their own. But if you generally enjoy editing photos using Lightroom or other photo editing software, you’ll have lots of fun doing so with these shots. Through photo editing, the effects can be highlighted even further, and the photo can really come into its own. The most striking changes can be achieved through working with light and shadow. For example, by making the background somewhat darker and making the light even brighter. Contrast and clarity can also be increased a little.
We hope you have lots of fun and can unleash your creativity in this way.
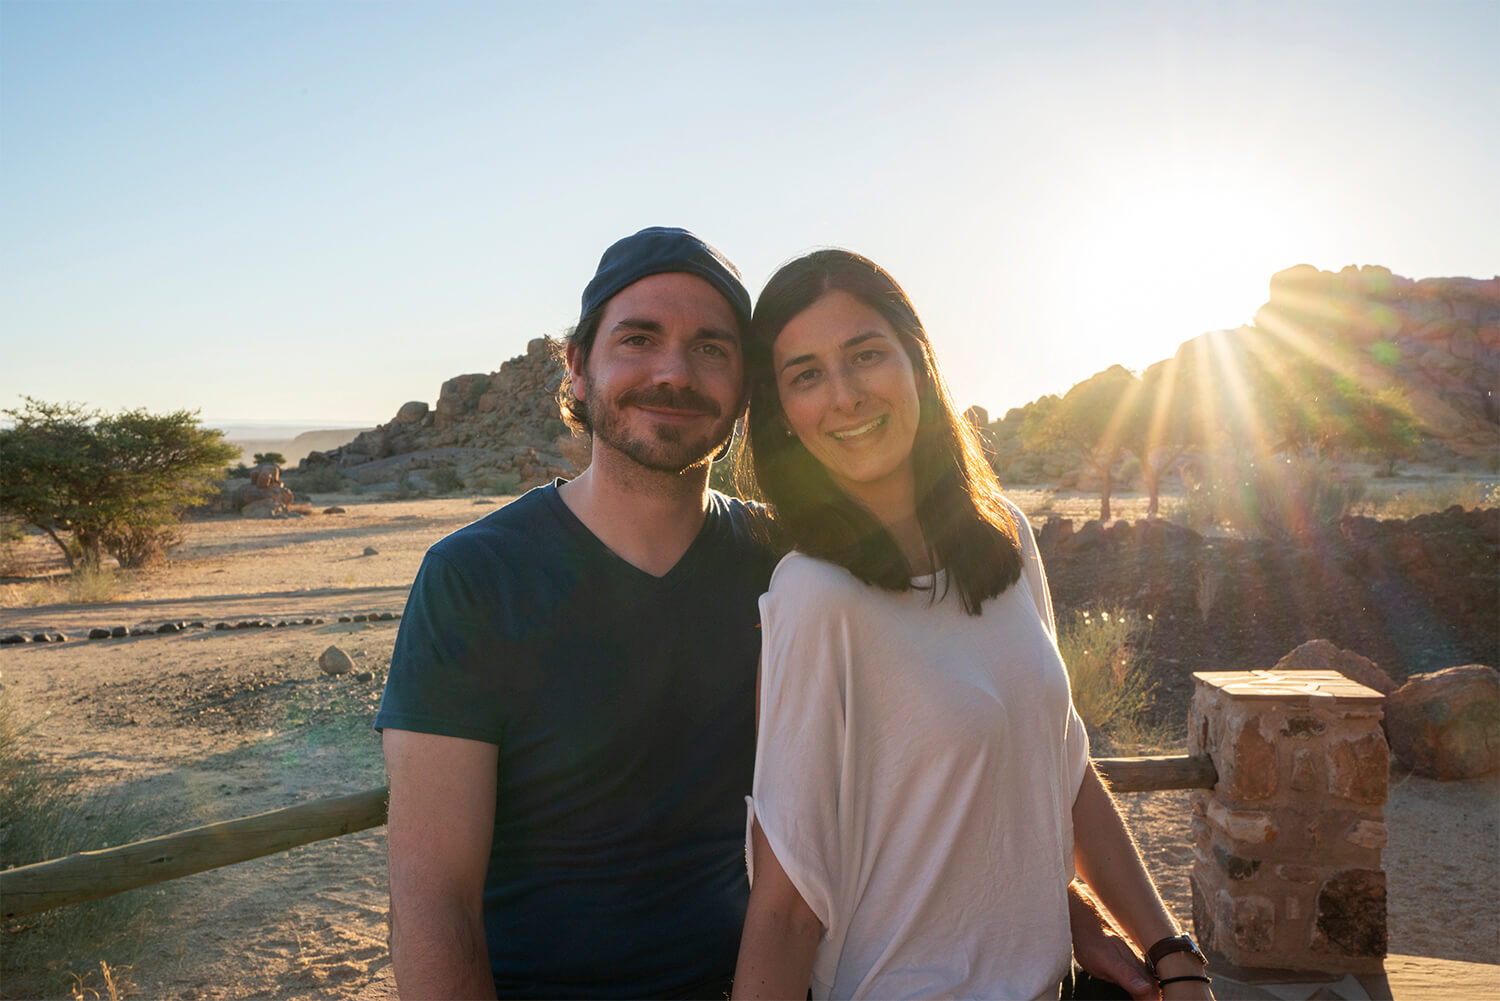
Journey Glimpse consist of Steffi and Stefan. Beach holidays were never really their kind of thing. They’d rather be in the streets or on the steppe, in the jungle or a nearby village. There where they can come into contact with other cultures, plants or animals – and experience this from up close. That’s how you get exciting travel stories full of impressive moments. And of course they can’t forget to take a camera with them – so that they can capture every single moment within an image. Steffi and Stefan, two professional photographers through and through, chase after just the right light and combine this with stunning landscapes. Photos with a depth that they love. At journeyglimpse.com, they write about their travels, give expert photography tips, and more besides.
Photo and travel blog: www.journeyglimpse.com
Stefan's portfolio: www.stefantschumi.photography
Our training platform: www.creatorspath.net
