How to shoot expressive group photos
For festive occasions such as weddings, birthdays, anniversaries and the like, a group photo is part of the memory of the special day. Depending on the number of people, however, even more experienced photographers may find this a real challenge. Are all of them in the picture? Does everyone look into the camera or has someone blinked or looked away? With our tips on equipment, camera settings and group formation, you are guaranteed to succeed in creating the next group picture.
Camera and Lens
Considering the various setting options, a system camera or SLR camera is of course best suited. The adjustable parameters, such as f-number, exposure time and ISO value allow you to better compensate for the prevailing lighting conditions. This is only partially possible when using a compact camera or smartphone. In good lighting conditions, however, they can also achieve good results.
For a camera with an interchangeable lens, it is best to use a standard lens with a fixed focal length of 50mm or a light telephoto lens if the group is large. The use of a wide-angle lens is not recommended as it causes distortion and unnatural proportions in the group picture./p>
Use a tripod
A tripod is almost indispensable for an impeccable group photo. It makes it possible to take pictures without introducing shake and you can easily align the camera to the desired section of the picture without having to search for it all the time. Especially for larger groups you can select a higher camera position with the tripod, so that all persons fit into the picture.
For spontaneous group pictures on the go, small travel tripods are suitable, which are usually lighter and easier to transport. If you have an elevation available along the way, for example a bench or a wall, you can also use it to stabilise the camera for the group picture.
Choosing a suitable scenery for group photos
In addition to the group itself, the background is decisive for a successful group photo. The background should be calm and, if possible, in muted colours in order to emphasise the group as the main motif of the picture. A moving cityscape as scenery or bright lights in the background are less suitable as they are very distracting and let the group drown in the picture.

Furthermore, an outdoor setting is more suitable than closed rooms because the lighting conditions are usually better. You should avoid bright sunlight such as at midday. The midday sun casts hard shadows, which can be seen on the faces of the people in the picture. In soft sunlight, you should make sure that it falls on the sideways onto the persons’ faces, as this will appear most natural in the picture later on. Direct light from behind or from the front would cast unwanted shadows of the group or the photographer. A slightly overcast sky or a shady spot is ideal for well-lit group photos.
If you want to take a group picture in an indoor space, you should use the flash to better illuminate the group. Windows and lamps can be a great help. If possible, use white walls and bright surfaces to reflect the light.
Positioning the group right
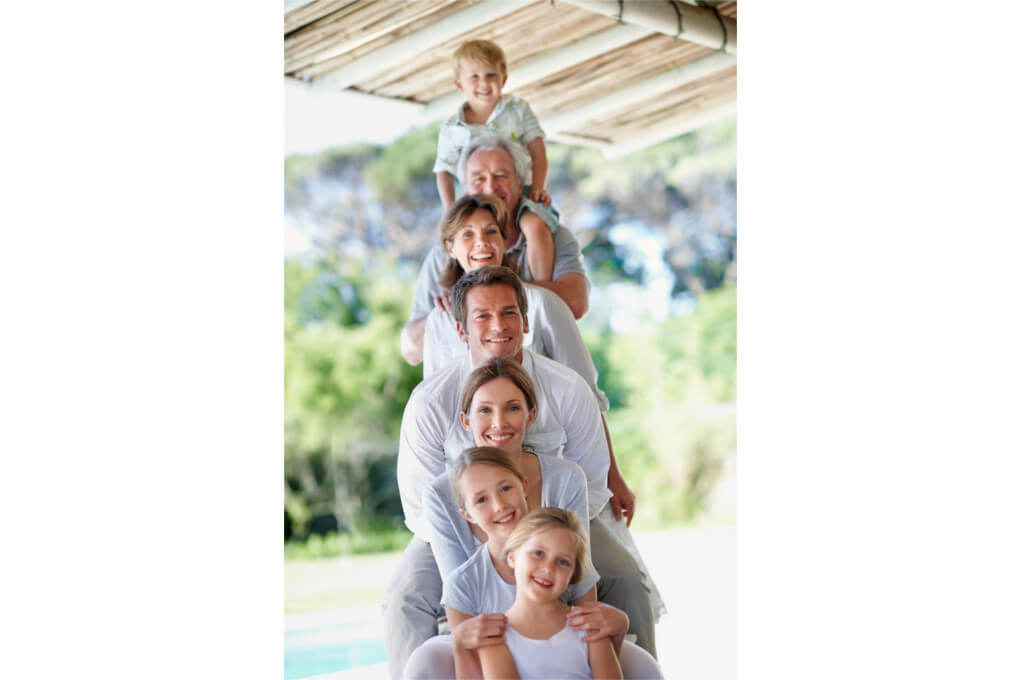
When arranging the people, make sure that they are as close as possible to each other. On the one hand, this ensures that everyone fits into the picture and, on the other hand, it creates a better group atmosphere in the photo. For large groups, a slight ascent towards the back or a staircase is helpful to ensure that the rear rows are also clearly visible. Experiment with different heights and poses of the persons for a dynamic image effect or consciously create a clear symmetry for an expressive group photo. In order to aesthetically stage the faces, it helps if everyone raises their chins slightly and stretches them upwards.
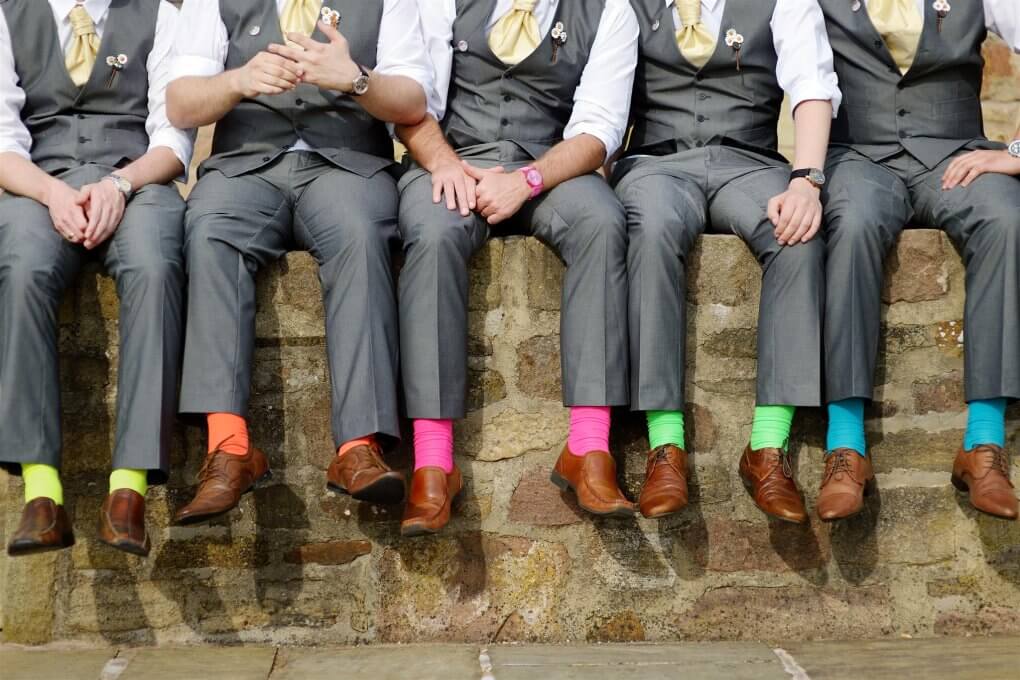
Try out different perspectives to create an exciting photo motif. Depending on the scenery and space, you can photograph the group from above or from a frog’s perspective. In order to achieve a well distributed image sharpness, you should always concentrate the focus on the middle of the group. For unusual group pictures you can of course experiment with focus and image framing and, for example, focus on a certain detail or only capture the people’s shoes.

Camera settings
As is so often the case, the required camera settings vary greatly depending on the lighting conditions of the selected scenery. In order to determine the perfect values of the individual parameters, you should try out different combinations. Basically, you should close the aperture a bit further (larger aperture value) in order to achieve a higher depth of field. In combination with a slightly longer exposure time, this is especially important for large groups in order to be able to sharply display the rear rows as well. But the exposure time should not be too long, because otherwise small movements of the subjects will cause distortions in the group picture. You may also need to increase the ISO value according to the aperture value in order to achieve uniform sharpness in the image. If the ISO value is too high, you will notice unwanted image noise.

When taking a group picture indoors, it is also recommended to adjust the colour temperature using a colour filter. If daylight entering from windows mixes with artificial light, unpleasant colour casts may appear in the image, which can be compensated for by changing the colour temperature.
Continuous shooting, interval timer & more
In addition to the various setting parameters that ensure a well-lit subject, the shutter release also plays an important role in group photography. To catch the perfect moment, we recommend the continuous shooting function. Here, the camera shoots several photos in a row as long as you hold down the shutter-release button. Some cameras also have an interval timer that takes pictures at set intervals.
If you are the photographer and want to be in the picture yourself, you can set a timer or self-timer for almost all cameras. A wireless shutter release is recommended if you want to be in the picture without hectically running into position. This lets you conveniently press the shutter button when you and the rest of the group are ready.
The right timing
An impressive group picture is a matter of timing. Especially with large groups, it is not easy to get the attention and the best smile of all people at the same time. To make everyone smile into the camera at the same time, many photographers use the usual instructions such as “cheese” or “smile, please”. This is where the aforementioned continuous shooting function comes in handy to capture the perfect moment. But somebody almost always blinks. There is a little trick for this: Ask all persons in the group to close their eyes and only open them again on your instructions, because after opening their eyes there is a short time window in which nobody will blink unintentionally. It is best to count down to three and then give the instruction ” Eyes open”.
Group photos will always remain challenging motifs. However, with these tips you are well prepared for the next photoshoot with your family or friends.
