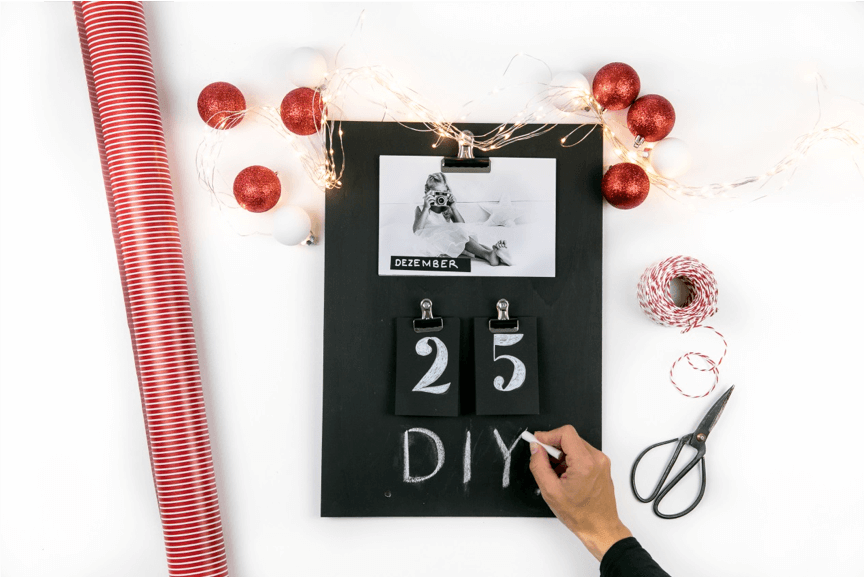
Gift idea – eye-catching photo chalkboard
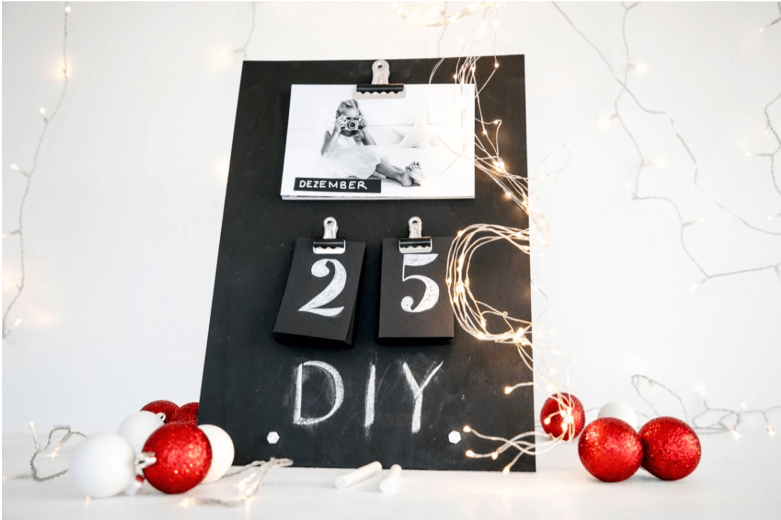
DIY photo annual calendar
Chalkboards and unique photo moments are all the rage. What could be better than combining both in a DIY craft project? Here you will find the simple instructions incl. video for an annual photo calendar in chalkboard style to make yourself. The DIY project is suitable for children as well as adults and will delight all ages on Christmas Day. Whether it’s colleagues, godparents or grandparents - an annual calendar chalkboard is perfect anytime and anywhere. The calendar can also be used again every year or converted into a working board.
You can find all the work steps in action in a short video
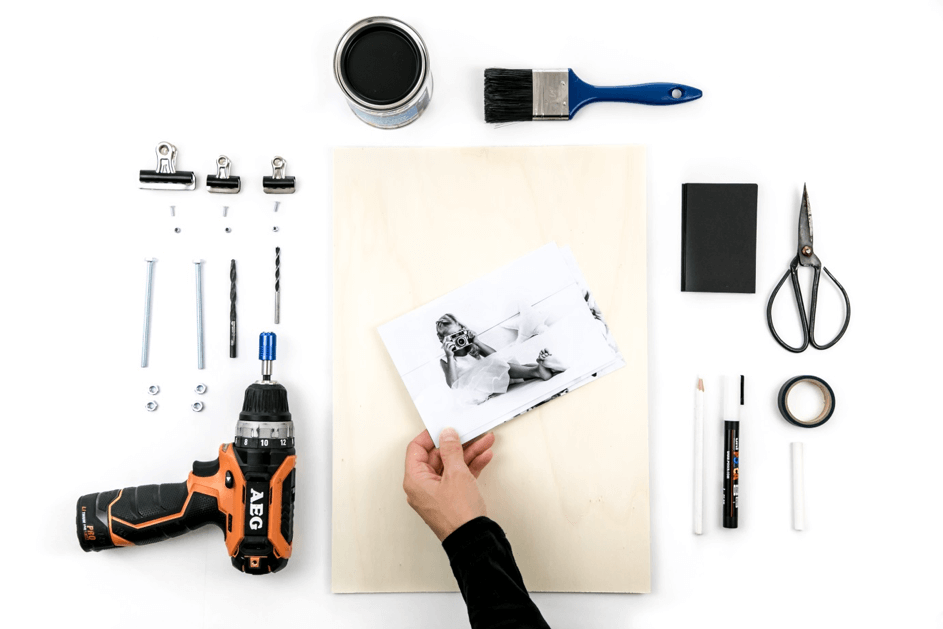
List of materials
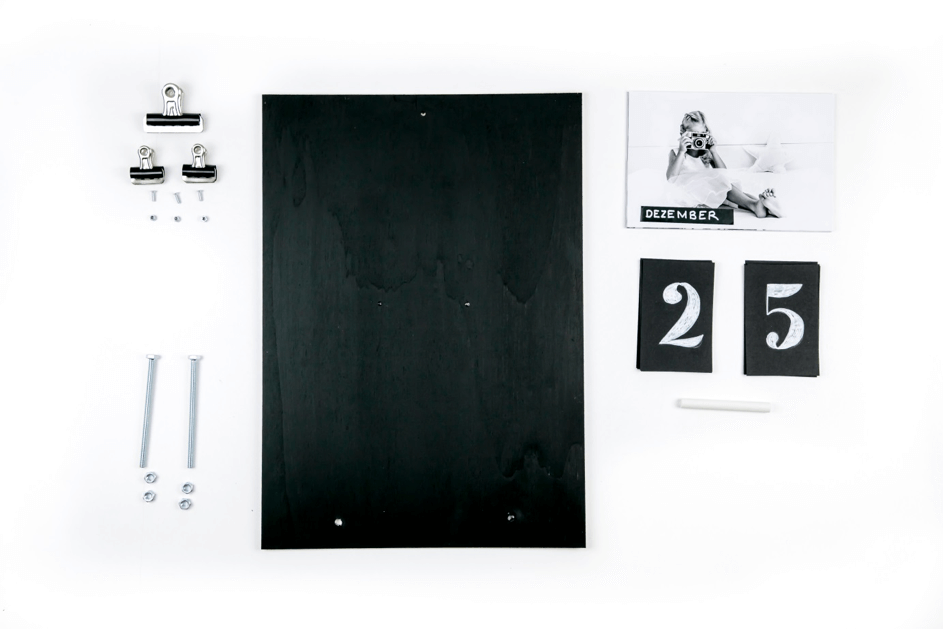
- 1 A3 wooden board
- 1 big clip
- 2 small clips
- 12 photos
- 1 roll of black masking tape
- 14 black cards
- 1 waterproof liquid chalk pen
- 3 x M3 x 10 countersunk screws
- 3 x M3 nuts
- 2 x M6 x 100 hexagon bolts
- 4 x M6 hex nuts
- Black chalkboard colour (black acrylic paint is a possible alternative)
- 1 brush
- 1 drill with suitable attachments
Instructions
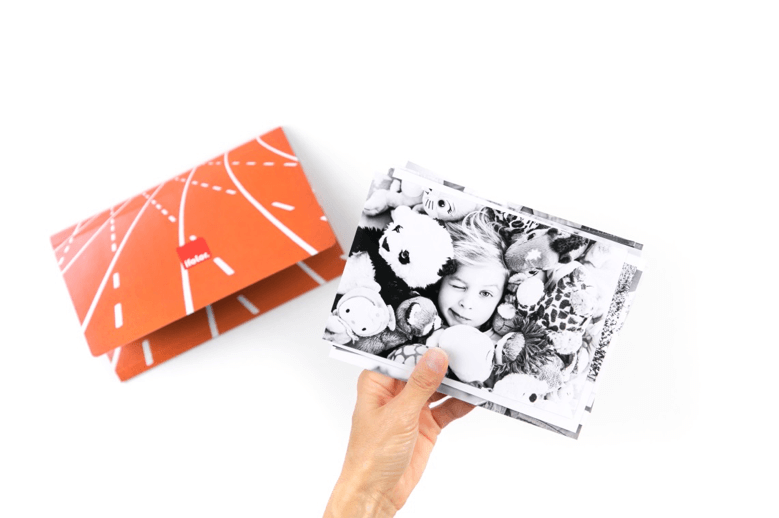
1. Order 12 photos for each month from ifolor
2. Label the black masking tape from January to December with waterproof chalkboard writing and stick the tape to the photos.
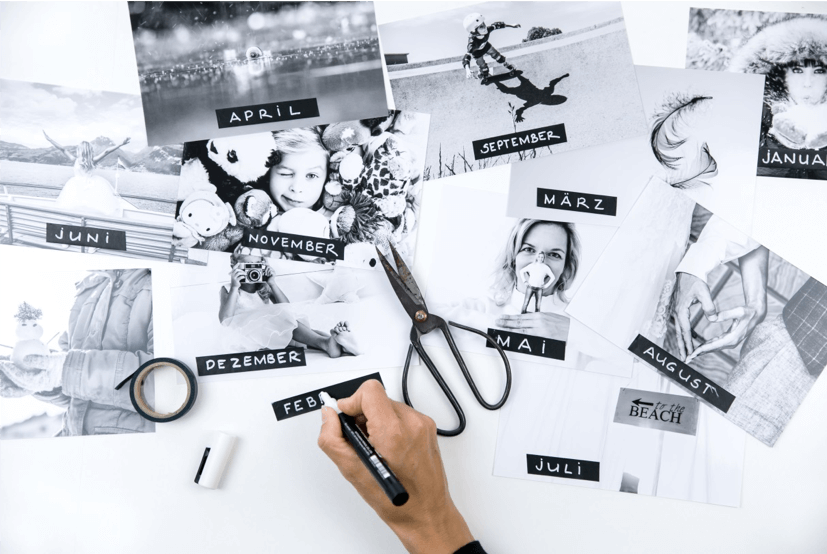
3. Label the black cards with the waterproof chalkboard pen with the numbers:
1x = 0-9 / 1x = 0-3.
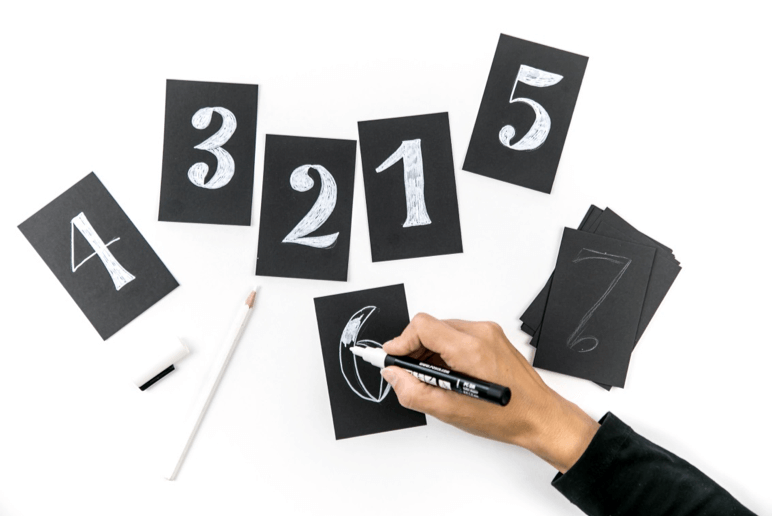
4. Draw the following holes:
1 x top centre – for the big clip.
2 x below the photo – for the small two clips.
2 x approx. 2 cm from the lower edge – for the "screws for setting up".
The lower two screws can also be omitted if you want to hang the annual calendar up.
5. Drill 5 holes.
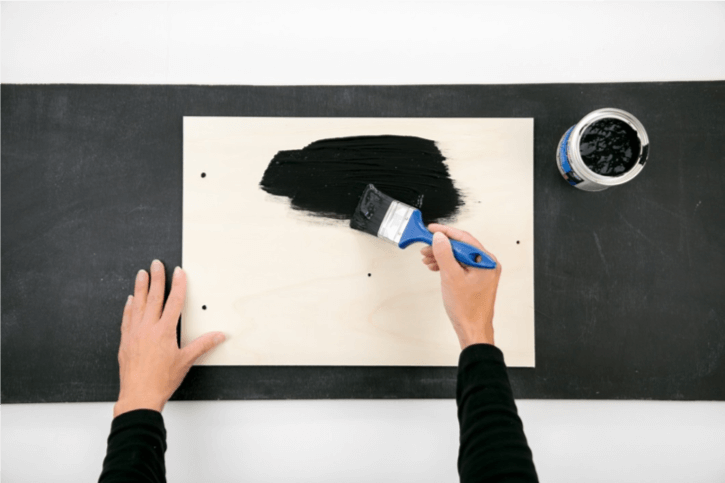
6. Paint the wooden board on the front (let it dry) and back with chalkboard paint. Black acrylic paint is also suitable as an alternative. There is also the magnetic chalkboard colour for magnetic boards.
7. Fix the clips using the screws and nuts.
8. Fix the screws for setting up.
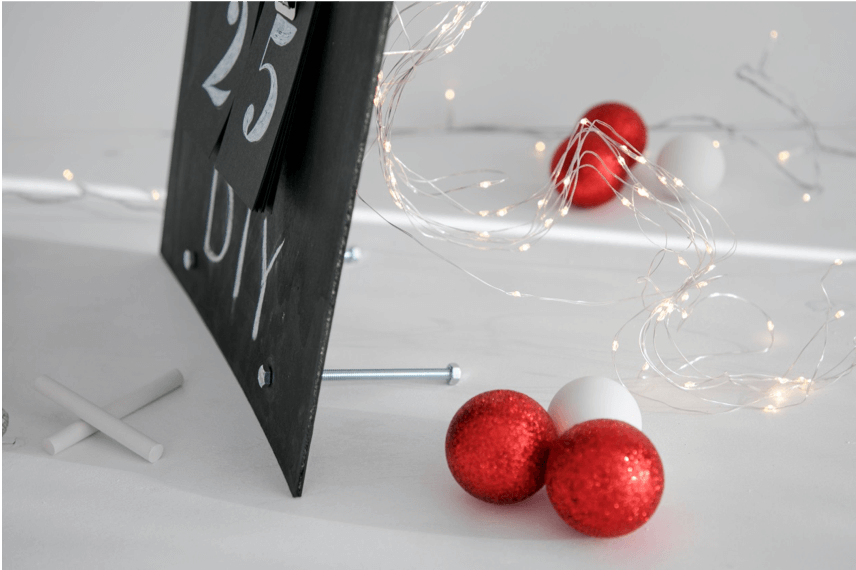
9. Arrange the photos and cards.
10. You can also write a personal text on the blackboard using blackboard chalk.
We hope you really enjoy creating your own photo annual calendar chalkboard.
Guest blog by Miri Weber
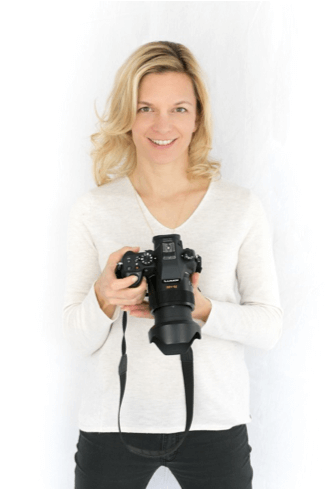
Miri is a content creator, photographer & blogger. She loves conjuring up creative works with simple materials. On her blog you can find lots of small and big inspirational DIY ideas, healthy recipes and the most beautiful spots in the mountains.
Be inspired by her photos and videos.
miriweber.ch
