Birds in flight – Fascinating photos of flying birds
Photographing birds can be very easy – as long as they sit and keep still. When they fly through the air, it’s a different story. The great distance to the focussed object as well as the fast and sometimes unpredictable movement of the bird can make taking pictures of flying birds very difficult. Even experienced photographers often need plenty of attempts to take a really good picture. For beginners this means: You can’t get around practicing.
We explain the basics of bird photography, the technical requirements involved and offer you tips for a successful hunt for the flying bird picture.
(Getting to) Know the subject
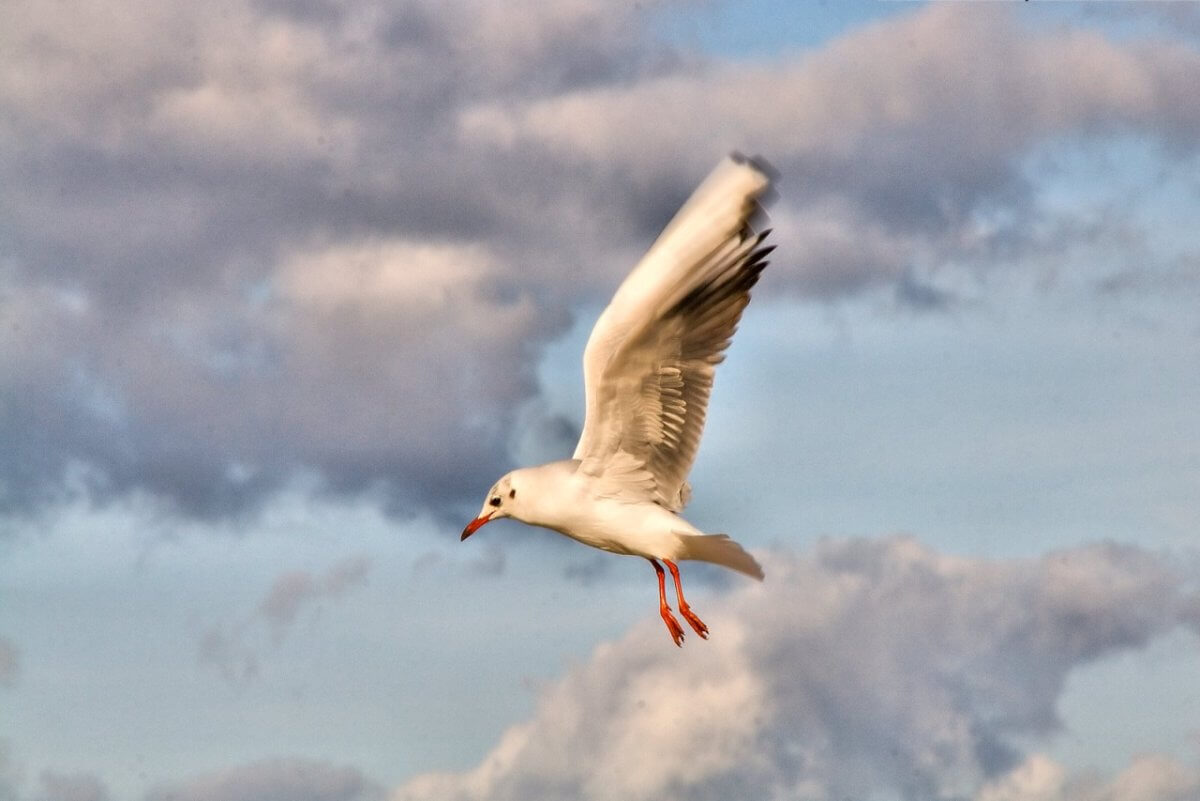
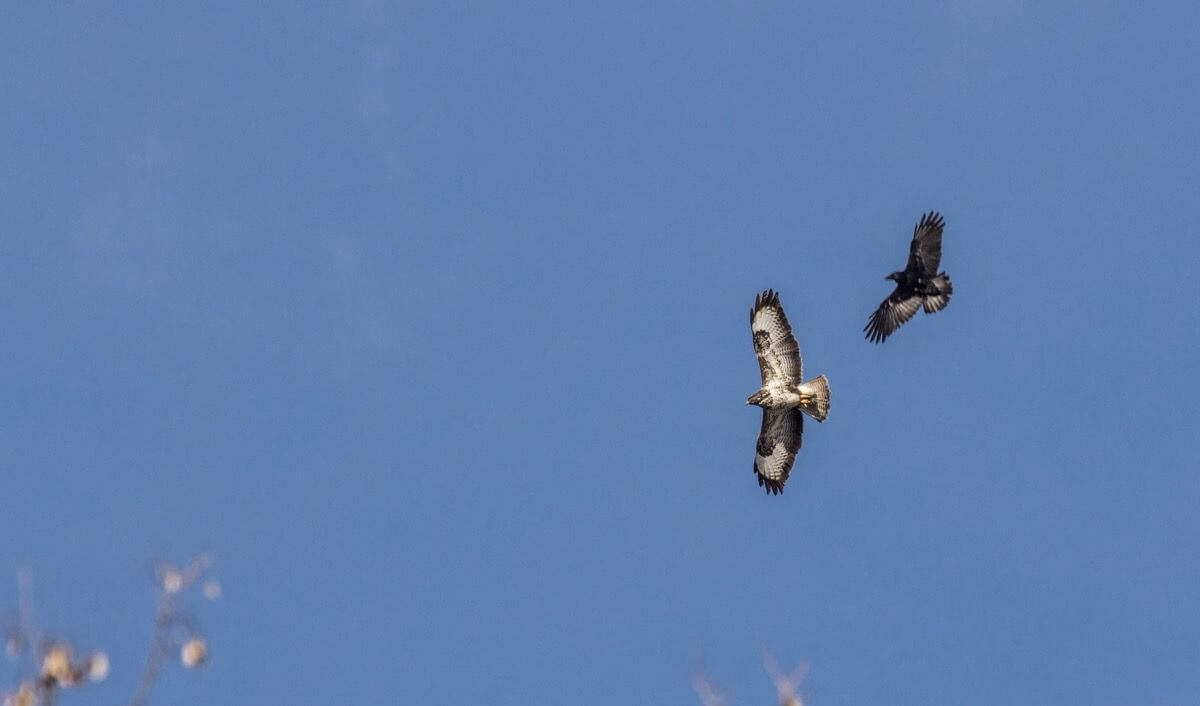
The dynamics of flying birds are complex, making it difficult for photographers to take pictures of them. Large birds such as geese, ducks, storks, herons, and seagulls are generally easier to capture than smaller species. On the one hand, they are easier to spot and photograph on a large scale, on the other hand they move more slowly and predictably. Small birds such as sparrows, tits, kingfishers and swifts or even bats move much faster and more unsteadily and often change direction completely unpredictably. It is therefore a real challenge to get them in front of the lens at all.

For practicing it’s worth choosing a place with a lot of air traffic, where the birds are used to humans. They are then often less shy and you can get closer. The proximity to feeding houses may also help.
Over time you will get to know the peculiarities of the flight behaviour of certain birds and you will be able to adjust yourself accordingly when taking photographs.
The technique
Although many things are possible with the handy companions – flying birds cannot be photographed with a smartphone or a compact camera – and at best as distant black dots. With a bridge camera and a zoom lens, you can give slower birds a try. A DSLR with a fast telephoto lens is still the best choice for bird photography. Depending on the crop factor, focal lengths of 300 to 500 mm are generally recommended. With shorter focal lengths, it is possible to take pictures, as long as you can get close enough to the birds, i.e. they do not fly too high.
Opinions vary regarding the use of a tripod. Depending on the weight of the camera and the specific purpose, a tripod can be either useful or a hindrance. For professionals there are tripods with so-called cardan heads, which function like a swing. These are however expensive and a bit of an exaggeration for a hobby photographer who occasionally wants to swivel the tripod head. A good compromise between flexibility and stability can also be achieved with a simple monopod.
Camera settings
Ideally, photographers align themselves with the sun behind them. Exposure is easier and shadows are soft. Since the birds do not wait for their cue, all relevant camera settings should be adjusted before the start of the photo session.
Focussing a flying bird is not easy because of the varying background and the changing distances. If the autofocus is too slow it may become a problem. Adjusting to the tracking autofocus or the automatic focus adjustment is recommended. With Nikon this mode is called AF-C (Autofocus-Continous) and with Canon it is called AI-Servo. Some Nikon cameras also offer the possibility of 3D tracking, which also takes the colour of the objects into account and also “rediscovers ” them when they get out of focus temporarily.
The exposure time should be as short as possible to freeze the movement on the image. The S (Tv) mode – i.e. Shutter Priority – is useful for this. The exposure time is selected manually, the aperture adjusts automatically. In order to prevent camera shake, the exposure time should not exceed 1/1000 s, preferably even less. It is also possible to set the shutter speed and aperture with ISO automatic.

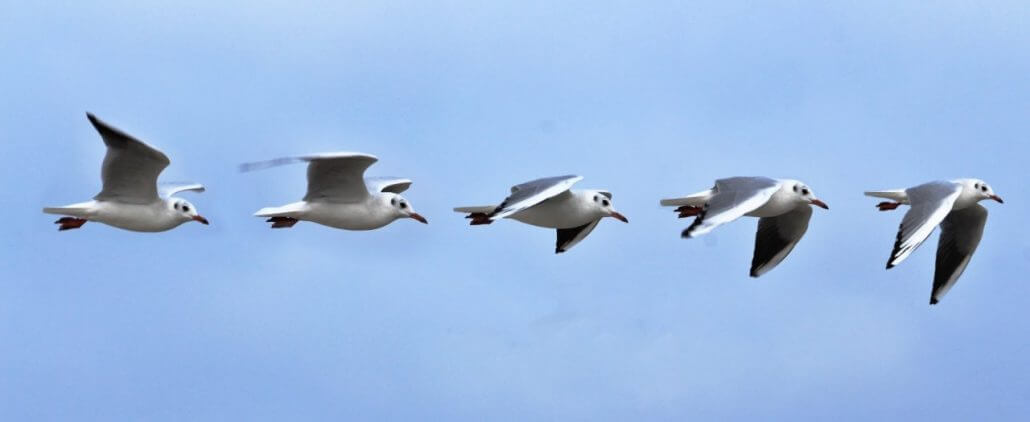
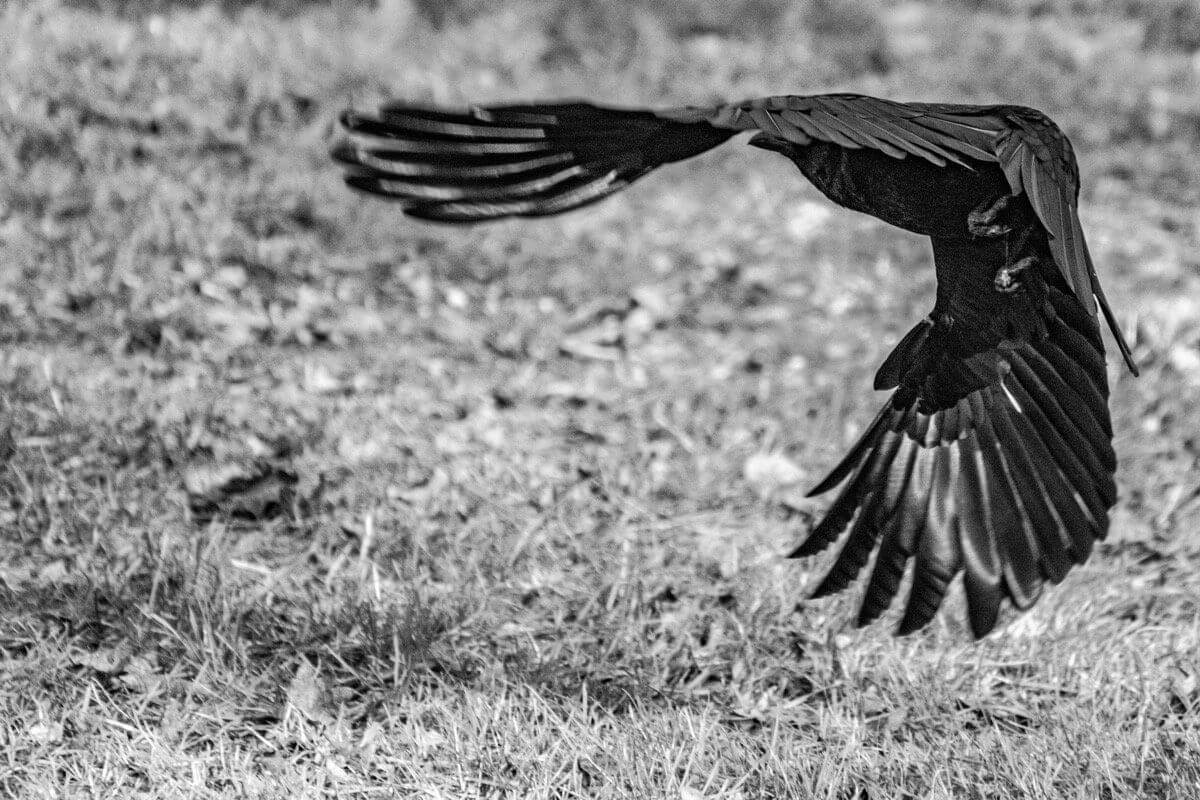
Often, blurred wings are a desired effect as they give the image a natural and dynamic look. However, it is essential that the bird is otherwise sharply captured. Image stabilisers can be helpful here.
With a little practice, slightly longer exposure times can be used as a stylistic device: For special dynamics you can follow the movement of the bird by following the flight path of the bird exactly with your lens. The bird itself is then sharply depicted, while the background becomes blurred. This effect is particularly beautiful with a background that is homogeneous in structure and colour.

In some situations, it may be useful to specify the ISO setting for the camera. White birds, for example, can quickly become overexposed or underexposed depending on the background or terrain they are flying against. This is especially the case with blue skies or reflective water surfaces.
Burst mode and sports mode
Very handy for finding the best shots in the end: The continuous shooting function or burt mode allows you to take several pictures per second. When taking pictures of flying birds, the chance of taking the winning shot increases if you take a lot of pictures.
Beginners can also try out the results in the camera’s sports mode. It is designed for fast movements and can take good snapshots without having to make a lot of manual adjustments.
Conclusion
Photographing flying birds is one of the more difficult disciplines. A DSLR with a fast telephoto lens and a fast autofocus is the ideal equipment. Short exposure times allow for sharp images and the “panning” of the camera creates interesting effects. With a little experience, you can reduce the amount of rejects, but even experienced bird photographers need a lot of approaches to get a breathtaking picture.
