Taking Pictures of Model Railways
Model railways have been popular for generations with young and old alike. The small model trains have now been on the market for more than 125 years and continue to captivate enthusiastic fans. You can create your own little world with small locomotives and artistically designed landscapes. Model railway enthusiasts often work on their model for weeks or months as they enjoy adding lots of great details. Railway models provide a great basis for extraordinary photo motifs.
Getting the Perfect Shot
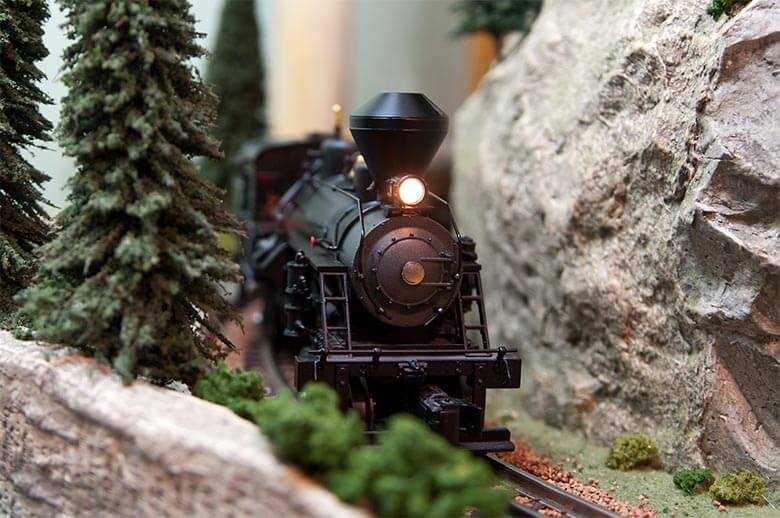
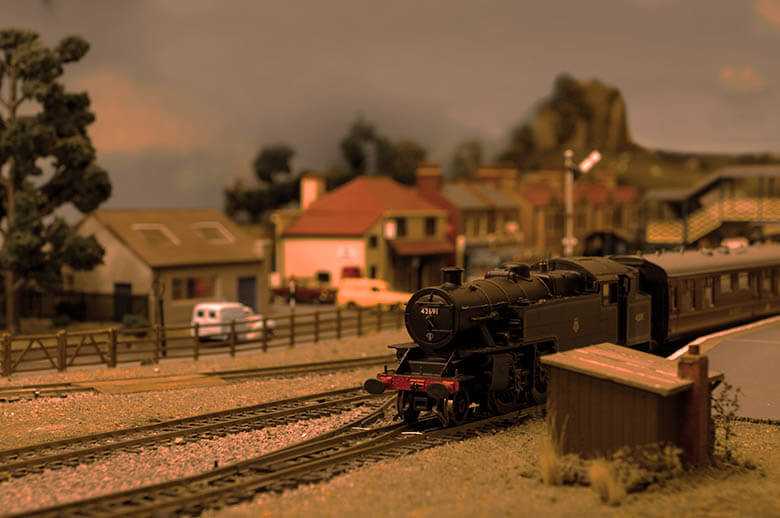
Getting the perfect shot of your model railway isn’t always easy. Start off by making sure your model trees, bushes and carriages aren’t dusty and there aren’t any fingerprints on smooth surfaces as they are visible on photos. When it comes to taking photos a little bit of creativity can go a long way and optimise your photos. You can use model landscapes, trees and bushes to cover up anything you don’t want in your photo. Next switch on all the lights from vehicles and street lights to achieve the most vivid effect possible. Smoke from chimneys and the trains should also be included in your photo. Don’t forget to adapt the background to the time of day as not only the details in the foreground are important. Choose a light blue or greyish white background for daytime shots and warm orange tones for evening shots. These types of coloured backgrounds can be bought in specialised shops for model railways.
Finding the Right Angle
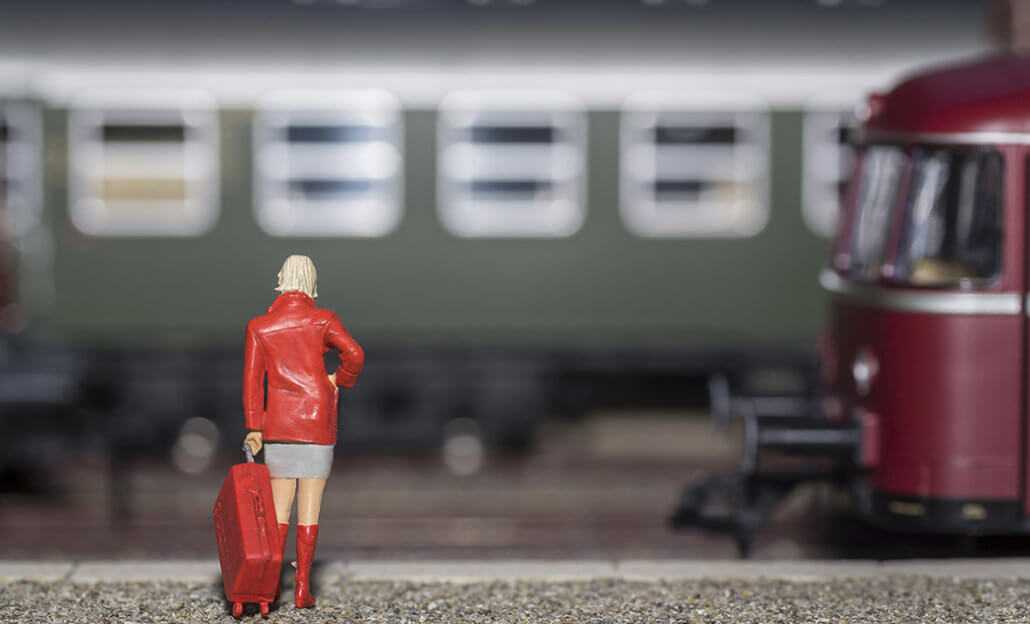
Getting the perfect perspective is an important step towards taking the perfect photo of your model railway. To get the most realistic angle of view make sure that your camera is at eye level of the model figures. You may need to remove one or two small objects from your model in order to get a good overall view. Try to achieve a balanced picture composition by observing the golden section and to obtain optical depths by perspective slants.

Illuminating a Model Railway
The right light can make a real difference to your photo and the mood. You should avoid using a flash when taking photos of your model railway as this can cause reflections on smooth surfaces such as house roofs or trains. You can read in detail about which external light sources are available and how to use them correctly in our articles on lighting technology.
Taking Photos in Daylight
By using two light sources you can create a consistent soft illumination of the entire model including the background. This can be achieved by indirect lighting via white walls or other reflectors. This form of basic lighting can be used to create a cloudy day effect. To simulate a sunny day you will need a little more light and visible shadows. The so-called guide light plays the role of the sun and in the picture it should be aligned diagonally to the position of the sun. This creates small cast shadows of the objects, which will make your model railway look even more realistic. Take your time to find the ideal angle of incidence as just a few millimetres can make all the difference.
Simulating the Golden Hour for Model Railway Photography
The realistic railway scenes look fantastic in golden evening light with long shadows. For this, the angle of the guiding light is shifted downwards accordingly and adjusted with a yellow reddish filter. The background may also be adjusted with a corresponding motif in golden or orange tones.

Photographing Model Railways at Night
You can make your carriages, street lights and buildings stand out with the right lighting. To take night time shots the room must be completely darkened and any artificial background lights should be switched off or coloured dark blue with the appropriate filters. A backlight is positioned at a very flat angle opposite the camera to emphasise the outlines of the objects. Make sure that the lens of the camera itself is shaded to avoid reflections and light spots. The main light needs to be dimmed so that the surfaces are not too visible. Do not turn on more lights than needed on your model railway as this can cause reflections on the surrounding surfaces, which will then make your photo appear less realistic.
Camera Settings for Model Railway Photography
It’s now time to optimise the settings on your camera once you have found the perfect position and lighting mood for your photo.
For daylight shots, you can always experiment with a lot of background blur to take effective photos. This has the advantage that the train being photographed is in maximum focus and the background is only blurred. The blur in the background also hides one or two details that would look rather unrealistic in a thoroughly sharp photo.
Model railway photography usually focuses on close-ups of model trains, carriages or buildings. Nevertheless, every now and then you should take a shot of your entire layout to document any changes. It is a good idea to do without a background blur for such photos. To do this close the aperture as much as possible using a small f-stop value. However, due to the closed aperture less light will fall on the camera's sensor, which is why the exposure time must be increased in order to get enough light on the sensor again. During this exposure everything on the model railway layout should remain still as a moving train or other moving objects would cause motion blur. You should refrain from increasing the ISO value, as a high ISO value causes image noise.
It’s generally advisable to use longer exposure times due to the lack of lighting as model railway photography is a form of still life. In order to obtain a blur-free photo with a longer exposure time you will need to use a tripod. In addition, when using a tripod you can take photos comfortably with the Live View mode and see the applied settings of the camera directly on the display. This is particularly helpful for photography beginners.
Conclusion: Model Railway Photography
There are some cases in photography where the aperture should be open or closed and the exposure time long or short, but there is no exact formula for the right settings in a particular situation. The individual settings required for the photo will differ depending on the equipment you have and the lighting conditions in the room. Therefore, make sure to take your time when taking photos and find the right settings for aperture and exposure time.
Being well prepared will help you to take some great realistic photos of your model railway.
