inspired by Martina Bisaz
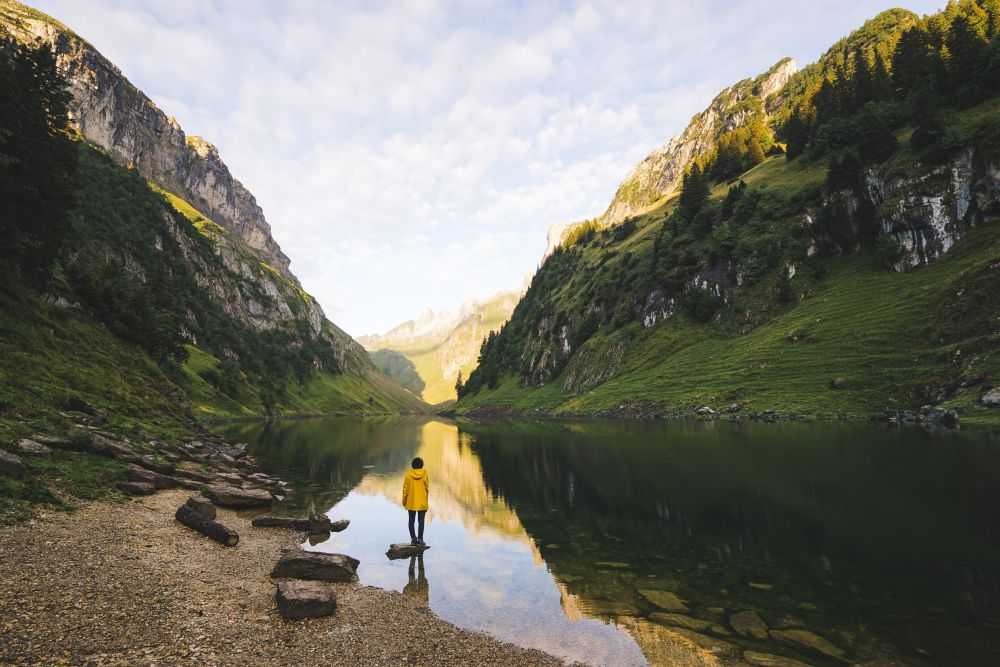
10 tips for a perfect landscape photo
1. Discover the best time of day
I’m not actually a morning person at all. But some of the most beautiful photos are taken at this time of day. Which is why many photographers choose the time before and after sunrise as well as before and after sunset for spectacular pictures. As during the day when the sun is at its highest, the shadows and contrasts are too strong and the picture lacks atmosphere. Picking just the right time is not usually that easy, especially if you’re hiking in the mountains for the day. Two tips for picking the perfect time:
- Set off at dawn to give you time to get up get up high for the sunrise.
- Plan a night in a tent or SAC mountain hut so that you can enjoy photographing the sunrise and sunset to the full.
You can usually get the most beautiful photos of lakes before sunrise, when the water is still as smooth as a millpond. I’ve even set off hiking at 4 o’clock in the morning just to get to a mountain lake before sunrise so that I can capture the picture with a perfect reflection. Naturally, it isn’t always possible to just take photos in the morning and evening. Fortunately, beautiful photos can of course be taken in daylight too! You can edit them quite a bit afterwards by reducing the contrasts and shadows a bit.
2. Opt for dynamics in the picture composition
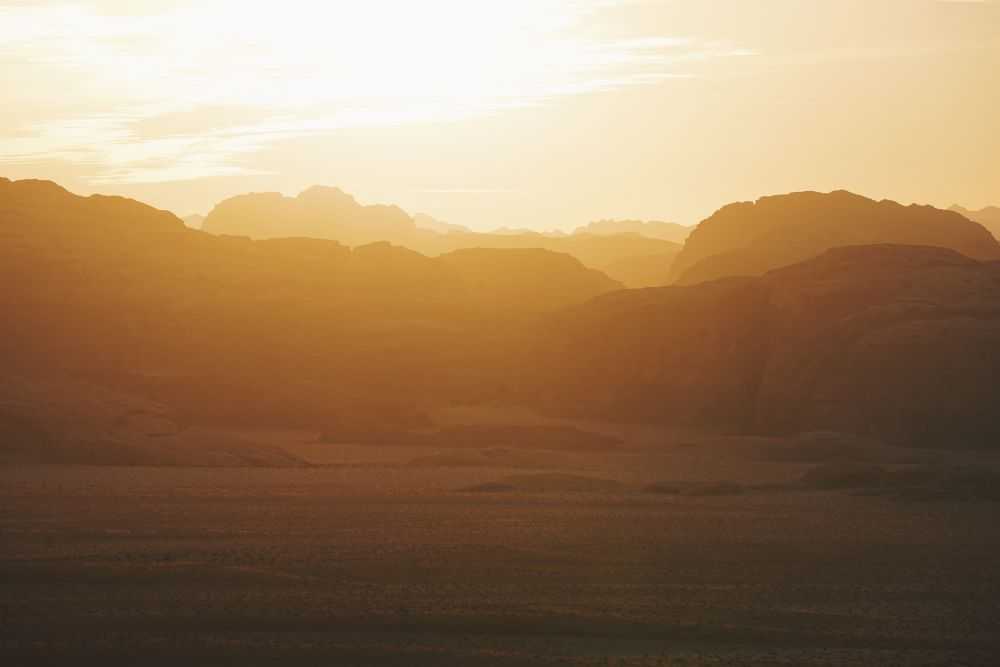
Playing with levels
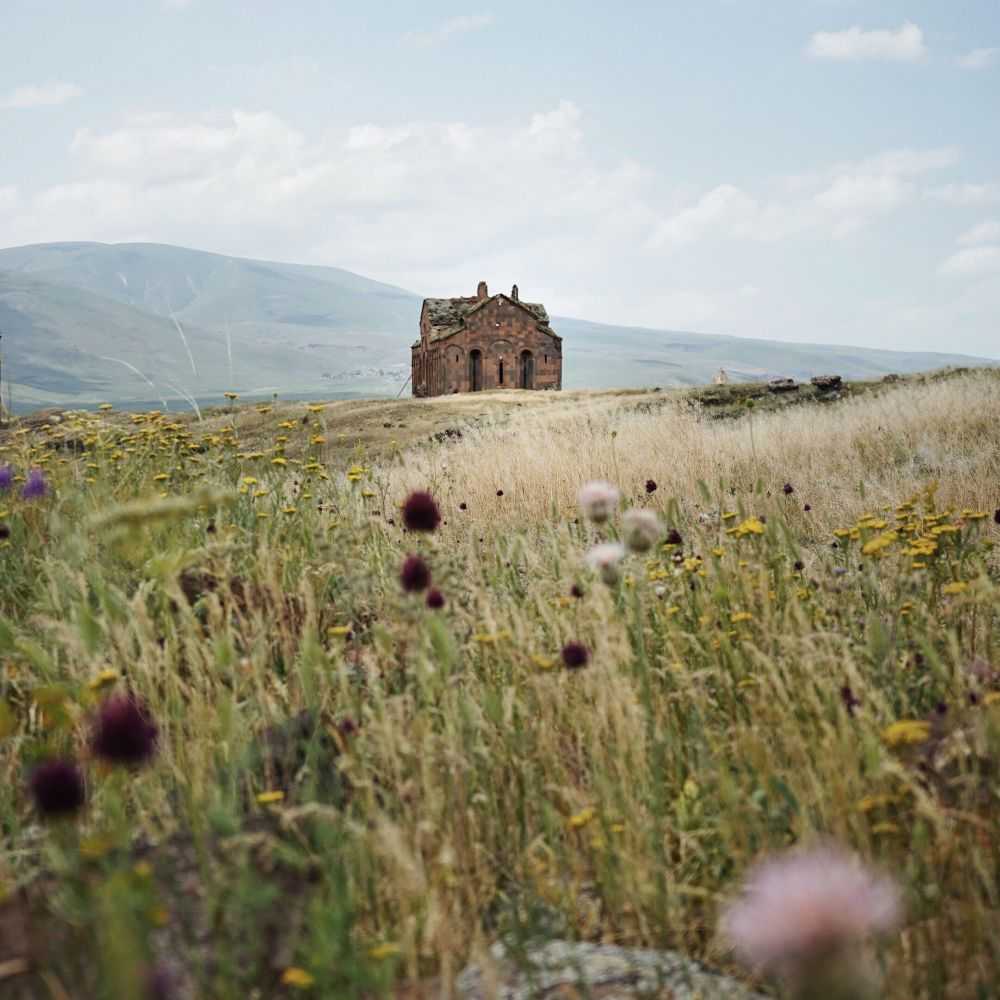
I always try, whenever possible, to work with different levels in the picture. Levels produce a feeling of space and make the image much more exciting at the same time. You can do this really easily, for example, with an out of focus foreground or by choosing a house, person, trees, feet, a tent or something else that is interesting in the foreground. Be creative and deliberately cast all the standard rules of the golden ratio aside for once. Why not try making the sky the main component of the image, for example with a breathtaking sunset, exciting cloud arrangement or beautiful graduating colours. This can look minimalist and at the same time give the picture something a bit special.
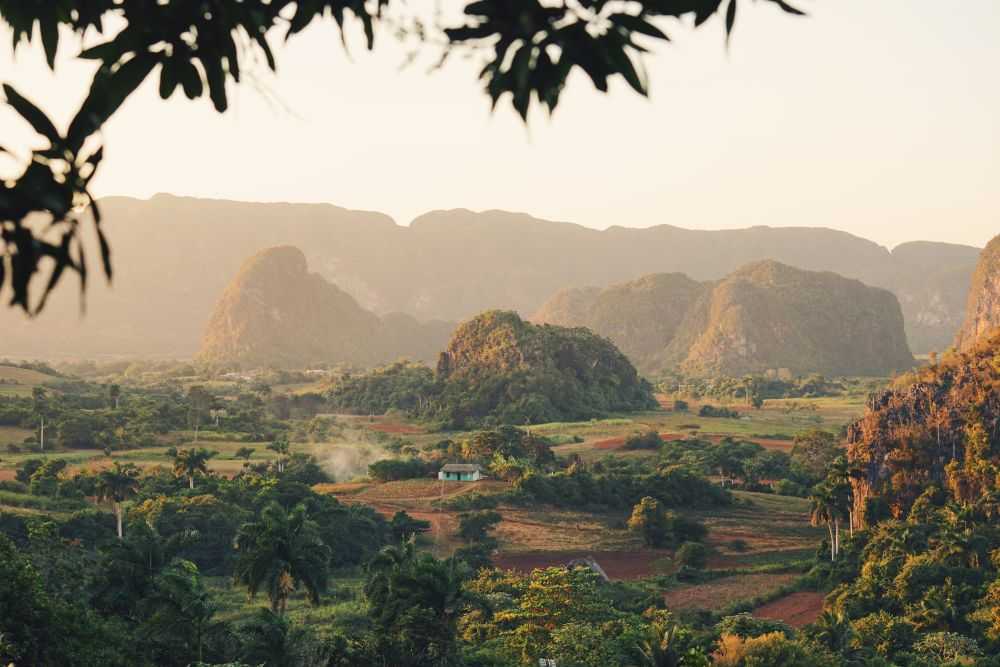
Playful illusion
I often like placing the horizon line in the middle of the picture, particularly with reflections in a lake that produce such perfect symmetry. This sometimes results in illusions between reality and reflection – what’s real and what’s just a reflection? You could also turn the picture upside down to give the whole thing a playful touch.
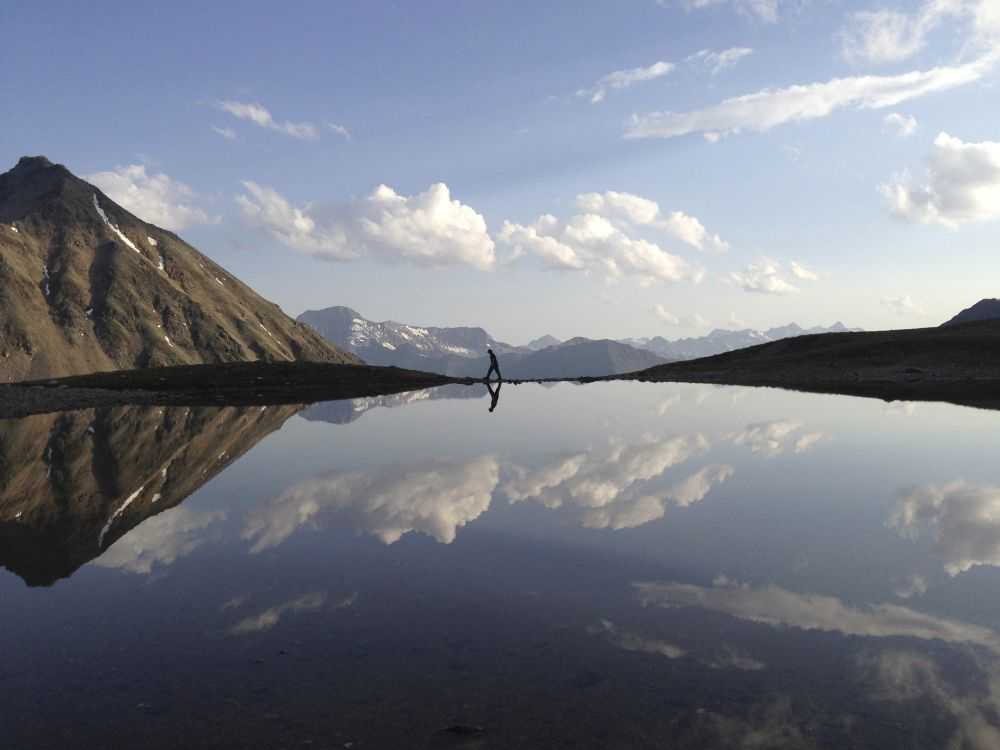
Guiding the observer’s eye
Lines that guide the eye in the picture can play a central role in the picture composition and work as deliberate accents. This may be, for example, a road, range of mountains or the course of a valley.
3. Make an informed choice of the aperture and shutter speed
If you want to have everything in focus in your picture I recommend an aperture of at least f/10. However, if you want to place an out of focus element in the foreground, such as flowers or branches, choose an aperture of f/4 or more, depending on your lens. I often experiment with different apertures and then select the best picture on the computer.
Sound complicated? Remember these basic rules: The more open the lens aperture is the smaller the picture’s focus (less depth of field). The more closed the lens aperture is the higher the picture’s focus (lots of depth of field). The first one is sensible for close-ups, the latter usually makes sense with a landscape.
4. Use RAW and automatic white balance
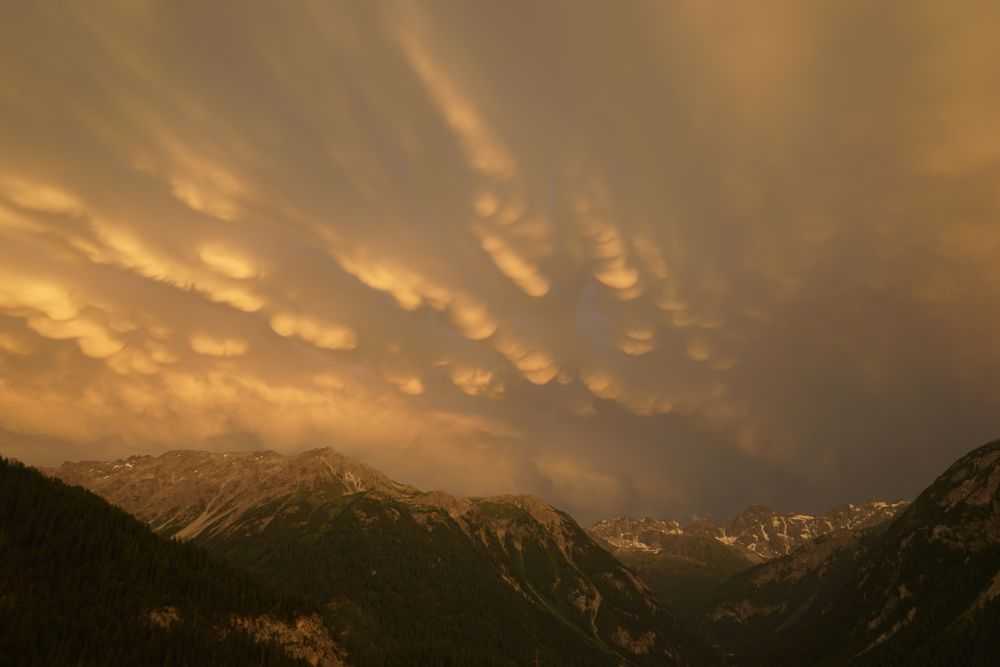
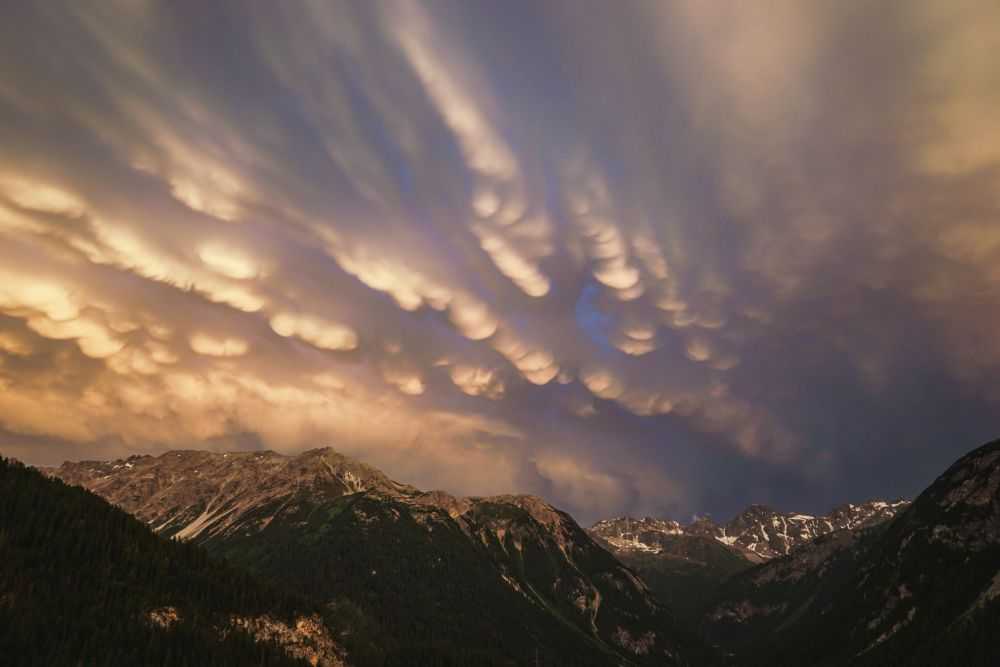
Admittedly, I probably pay least attention to the white balance, because you can really easily correct this afterwards. This works best if you save the pictures in RAW format. I usually have my camera’s white balance set to automatic as: on several occasions I’ve often forgotten to adjust the setting back again for sunshine when it was previously set for shade, or vice versa. Once I had the most fantastic sky with incredible Mammatus clouds at sunset and of course every single second then counts to capture this perfect light and mood. I grabbed my camera, ran out and started shooting straight away. Once the spectacle was over, I then contritely noticed that I had set the wrong white balance. But luckily there is always the option of digital editing! That’s also why I always take photos in RAW format so that I can regulate the light and dark parts of the picture and the colours without losing any quality afterwards.
5. Your most important resource: the tripod
When the landscape is basked in soft twilight, a tripod is absolutely essential. I always have a tripod with me when travelling – it’s then usually used for night shots. What should you do if you’ve forgotten your tripod? Be creative and improvise: I was travelling on Santorini, had the perfect sunset in front of the lens and did not have my tripod of all things with me. I quickly positioned my camera on a wall and fixed the right angle with stones – and it worked wonderfully!

Which tripod is the right one for you?
Unfortunately tripods are often quite large and heavy so that they can bear the weight of the camera including lens and also stand the test in the wind. For smaller cameras I recommend a small, three-legged tripod or even a Gorillapod. This can be practically stored in a handbag and backpack and weighs next to nothing.
My tip: use the tripod for self-portraits too! You can take the photo easily by setting the timer or working with a remote release. I use the camera manufacturer’s app with which I can operate my camera using wireless LAN. As a result, I can see how and where I’m standing in the picture live on my mobile phone.
6. Be surprised by the weather
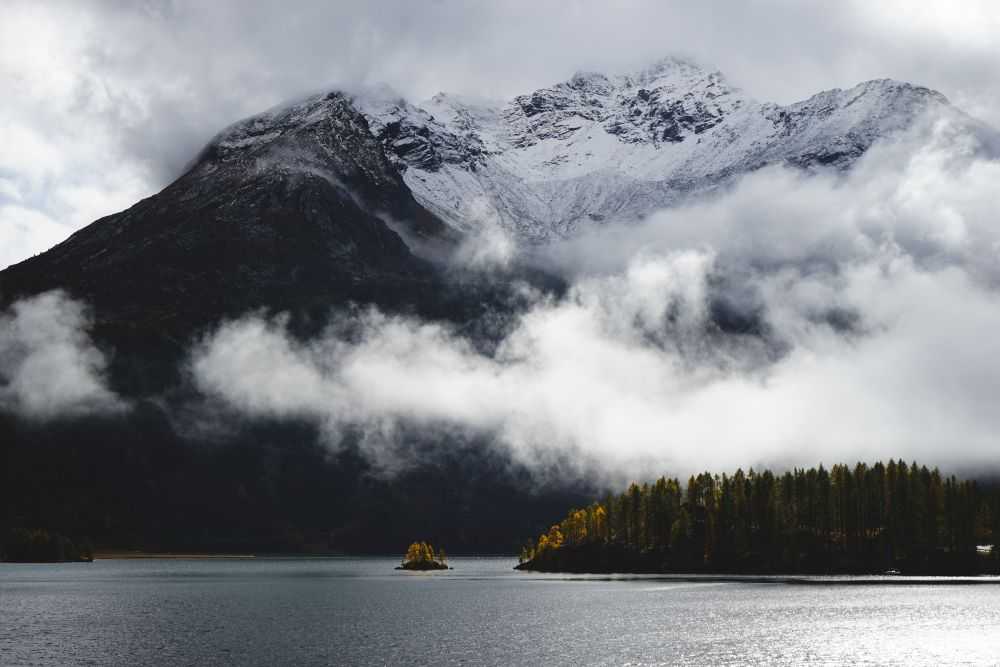
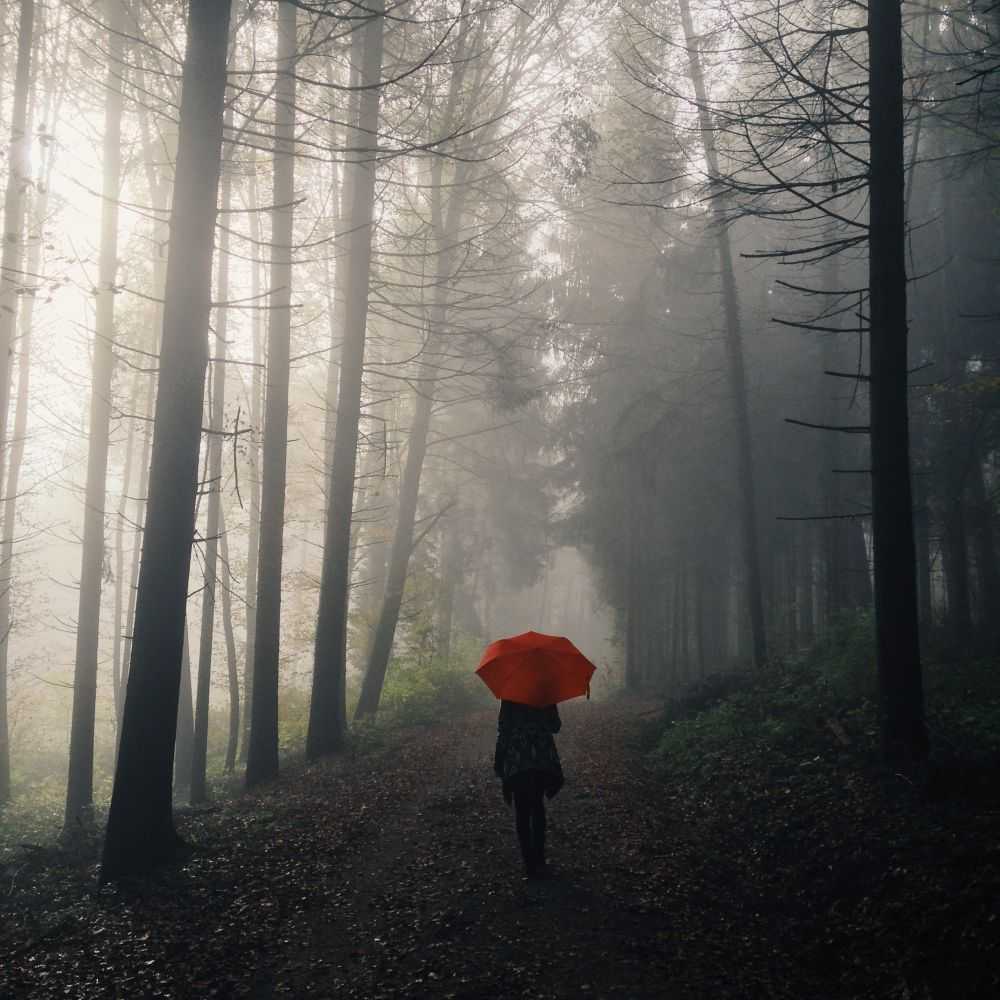
Are you on holiday and annoyed about the bad weather? Don’t worry: spectacular landscape photos can also be taken in horrible weather! Personally, a bright blue sunny day is not an interesting day for me to take photos. If I could choose, I prefer, for example the moment after a rain shower when the sky is overcast with clouds and the sun is peeking through somewhere. That’s how I produce exciting lighting conditions. Fog and mist are other (natural) phenomena that can make photos look really magical. So, when it’s foggy get out into the forest! The pictures will be incredibly moody! The perfect picture can also be taken in the rain and snow. The main thing is light, as the worst photography weather for me is when there’s no light and lots of clouds.
7. Use the magic of night
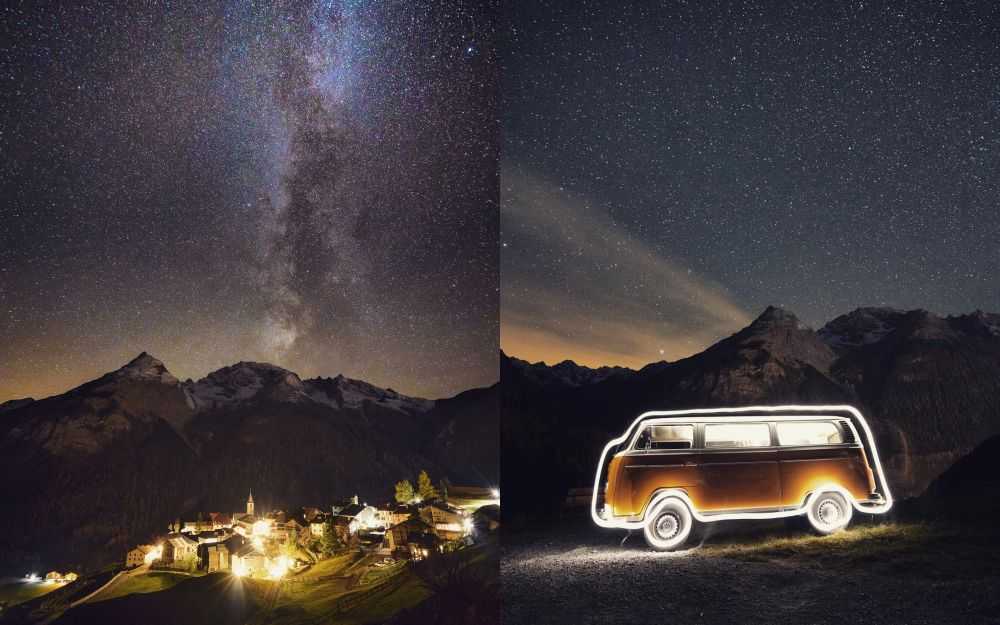
For night photography you need an SLR camera with full format sensor and a tripod, if possible – a mobile phone will not be enough here. I usually work with wider angled lenses at night. If you want to photograph the stars, you should be far away from any light pollution. A few tips for fans of astrophotography:
- it’s best to photography the Milky Way in Switzerland from May onwards. Download a star app to your mobile phone (I use “Star Walk”). You can see exactly where the Milky Way is.
- Pay attention to the Moon’s position. You can hardly see the stars when there’s a full moon. Which is why it’s best to photograph stars with a new moon.
- Work with different exposure times if you want to show the stars together with an element in the foreground. Shoot two photos with different exposure times and then merge them together later using an editing program like Photoshop. A dark starry sky calls for a longer exposure time than, for example, a lit-up house or village in the foreground. If the foreground is quite dark, you can briefly light up the spot you want during the exposure time using a torch. Or even play with “light painting”. This means drawing shapes in the night photo using a torch during a long exposure time. I tried it once and realised that it looks much easier than it actually is. I took me several attempts before I was fairly satisfied in the end. The spectacular result was worth the effort though.
8. Take time for planning
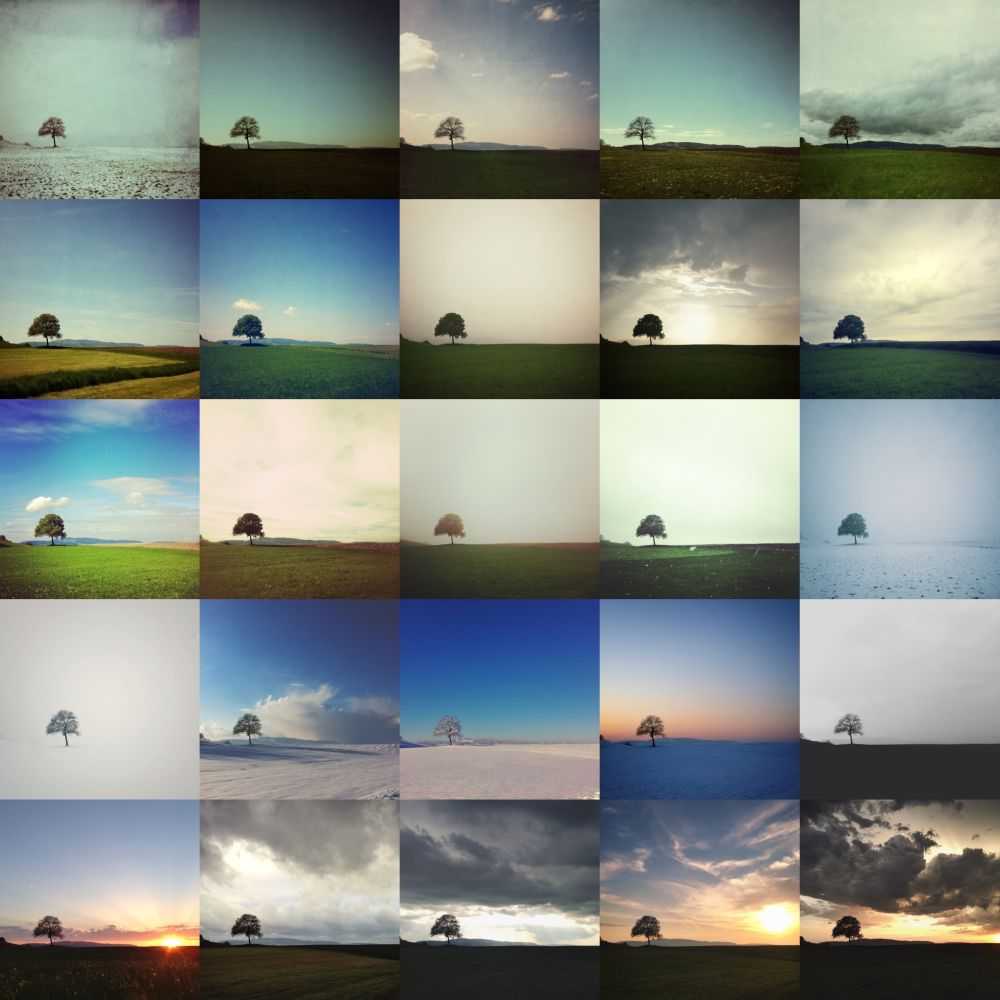
I’m not exactly the best planner which is why a lot of things also happen spontaneously with me – except getting up early for the sunrise of course, I’d never do that spontaneously. :-) But I do of course also make preparations if I am travelling to a new place that I’m not familiar with. I google the place and look at pictures to get an impression of the area. Google Maps can be very helpful. Or I look for the place on Instagram – either using a hashtag or the geo location. It is also worth going to the same place time and time again at different times of day or in different weathers. I did that with a tree near me over the course of a whole year. Just equipped with my mobile phone and the editing app Snapseed. I simply noted the exact position and view frame and took a photo every time I drove past. Start now with an object near you and you will end up with a unique series of photos.
9. Work with more than just one lens
You don’t just need wide angle lenses for landscape photography. Since I’ve had my 70-200 mm lens, I’ve been having more and more fun taking landscapes with it too. Obviously you can only take one detail of the whole thing with it but one detail can also be very impressive and atmospheric. With a telephoto lens you can play really wonderfully with depth of field, which means having the foreground in focus and the background (landscape) out of focus, or the other way round. Using this process you can create a feeling of space in the photo and at the same time make what is in the distance seem much closer. For city breaks I often use a 55 mm fixed focal length. Thanks to its open aperture of f/1.8 this is also superb for portraits. With my 16-35 mm, 28-70 mm and 70-200 mm zoom lenses I am armed for any situation.
10. Pay attention to textures
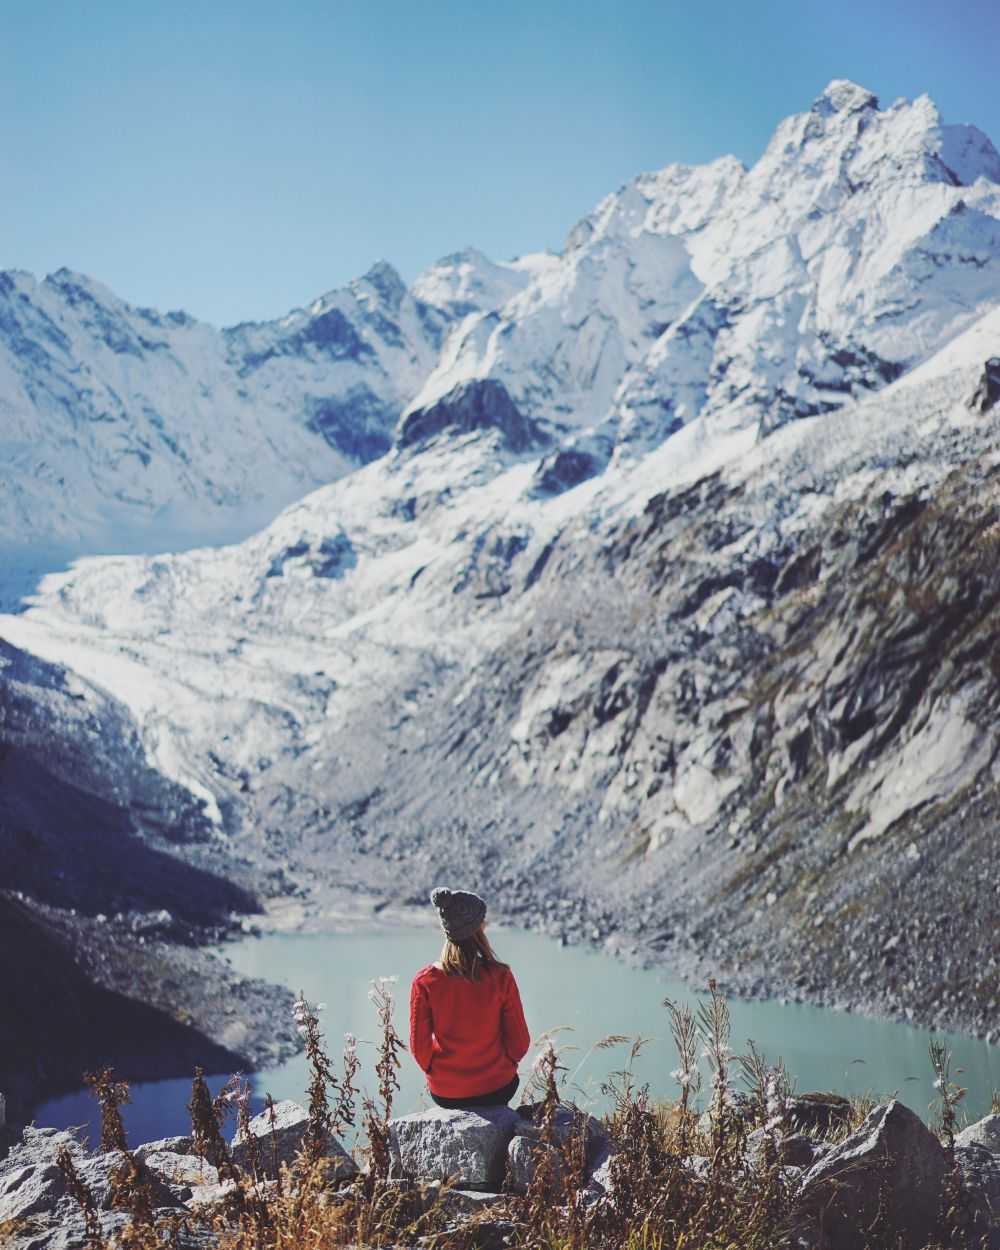
Nature is the greatest artist: water, rocks, forests, snow – you can find wonderful textures and structures everywhere. Pictures of natural textures can quickly look very abstract and you might not even instantly recognise what you can see in the picture. At the end of the day it’s also interesting to have to rack your brains a bit and create your own images in your head, giving your imagination free rein. You can find textures in the landscape really easily using a telephoto lens. Macro photography reveals the most beautiful details in moss, barks or rocks.
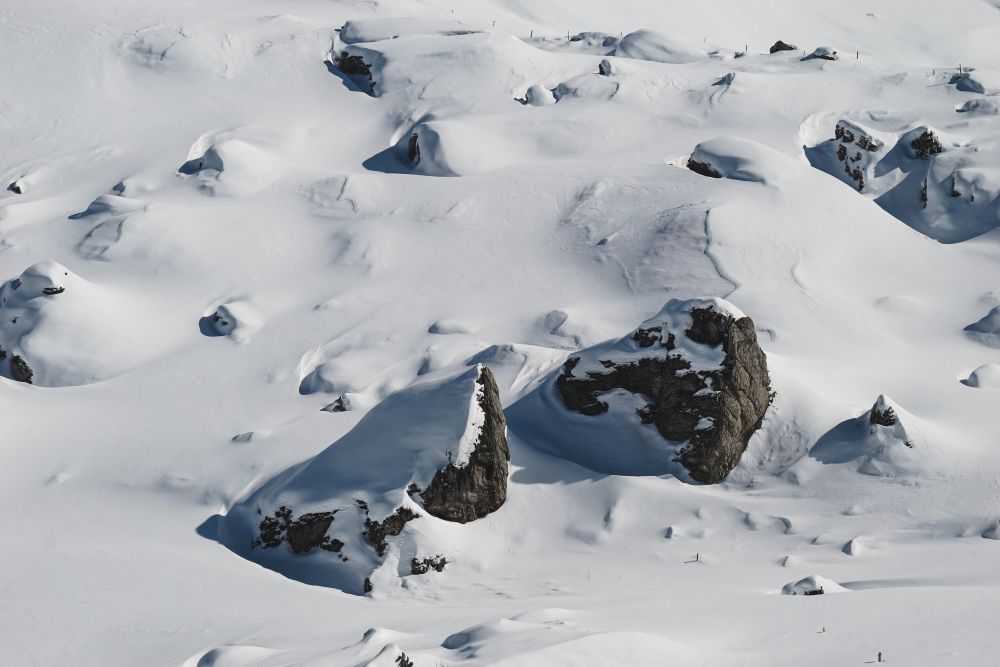
All the pictures in this feature were taken by Martina Bisaz and are subject to copyright.
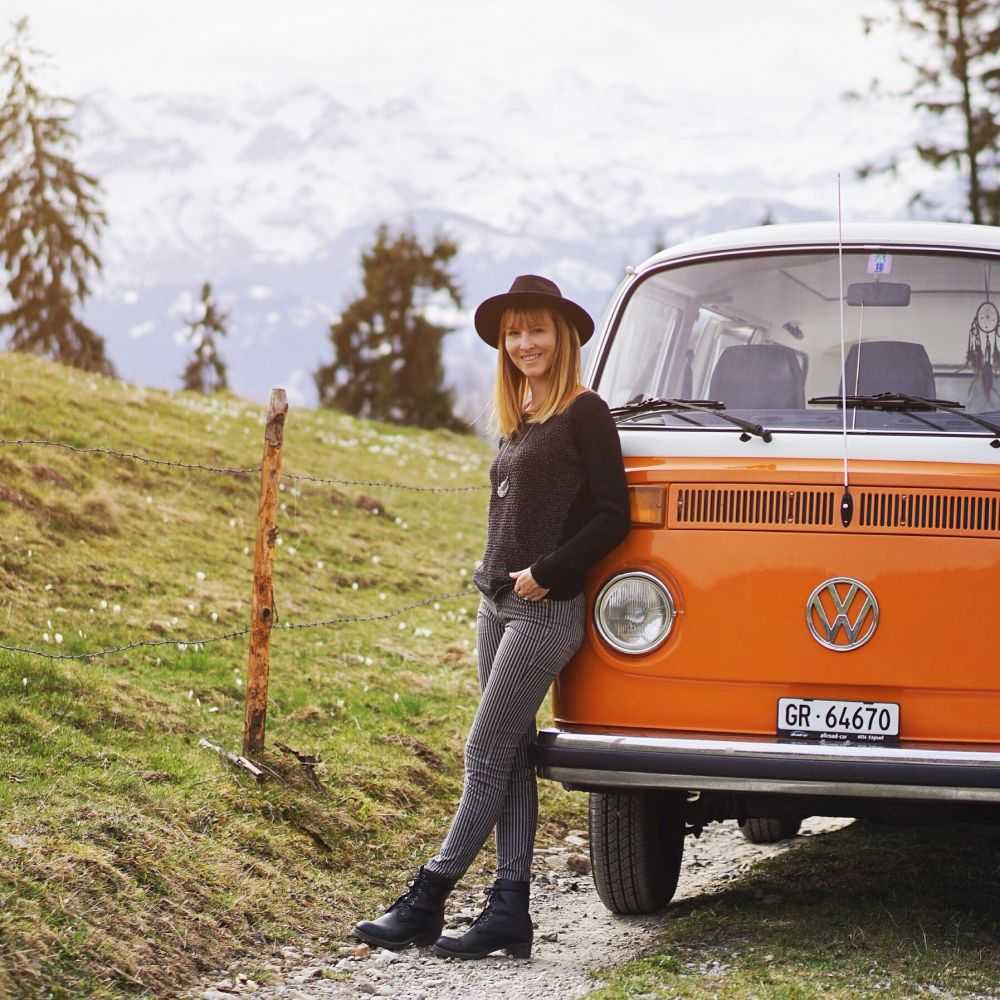
Martina Bisaz
There is hardly any other Swiss person who has as many Instagram followers as her. Martina Bisaz, born in Grisons, impresses more than 211,000 followers with her landscape photos on the Instagram photo platform as kitkat_ch. The 36-year-old travels across Switzerland and all over the world in her vintage Fiat 500 and an orange VW bus. And as with Heidi, it can also be said of Martina that the mountains are her world. Photos of impressive snow-capped mountains, turquoise blue alpine lakes and misty mountain ranges are her trademark. Martina Bisaz quit her job as a scientific illustrator in 2017 and has been working as a freelance photographer and dedicating herself to her Instagram account since then. Martina writes a blog about the world of photography and photo products for the inspire photo blog from ifolor every month.