GoPro: Time-Lapse Videos for a Cool Effect
With a GoPro action camera, you can easily record spectacular stunts, take breath-taking photos of nature, or capture your holiday on film. Time-lapse videos are a popular way to capture these moments since lengthy recordings can be summarised and compiled together, which allows the viewer to get a quick view of the experience you filmed. When you already have a bit of experience with your camera and know how to edit video clips, it’s easy to add that special something to your video with a few easy edits. These tricks are of course also suitable for GoPro-lovers who just want to pep up their videos a bit.
There are two ways you can make a time-lapse. The first way is to just do it directly on your GoPro, granted you have at least a HERO3 model or better. The other way, which happens to be a bit simpler, is to create a time-lapse using video-editing software.
A Time-Lapse: What Is It Exactly?
Even though it is a nice effect to add to a video, the time-lapse shouldn’t be overwhelming, but just an added effect that loosens up the mood of your video a bit. This effect can especially be useful during long and drawn out parts to keep the attention of the viewer since a time-lapse can summarise longer portions of video into a shorter sequence. A time-lapse could be used to show, for instance, getting ready to go skydiving or preparing for a downhill rush on a mountain bike, both of which shouldn’t be left out of the video. The time-lapse is a very practical function to utilise, especially for action videos.
What Kind of Videos Are Best Suited for Time-Lapse Effects?
Videos with steady, slight movements are best suited for time-lapses. You shouldn’t use videos with many inconsistent movements since the videos could then appear twitchy, which could quickly strain the eyes of sensitive viewers. Something that would be unsuitable for a time-lapse, for instance, would be a canoeing video since the shore, water, canoe, and canoeist are all in constant motion.
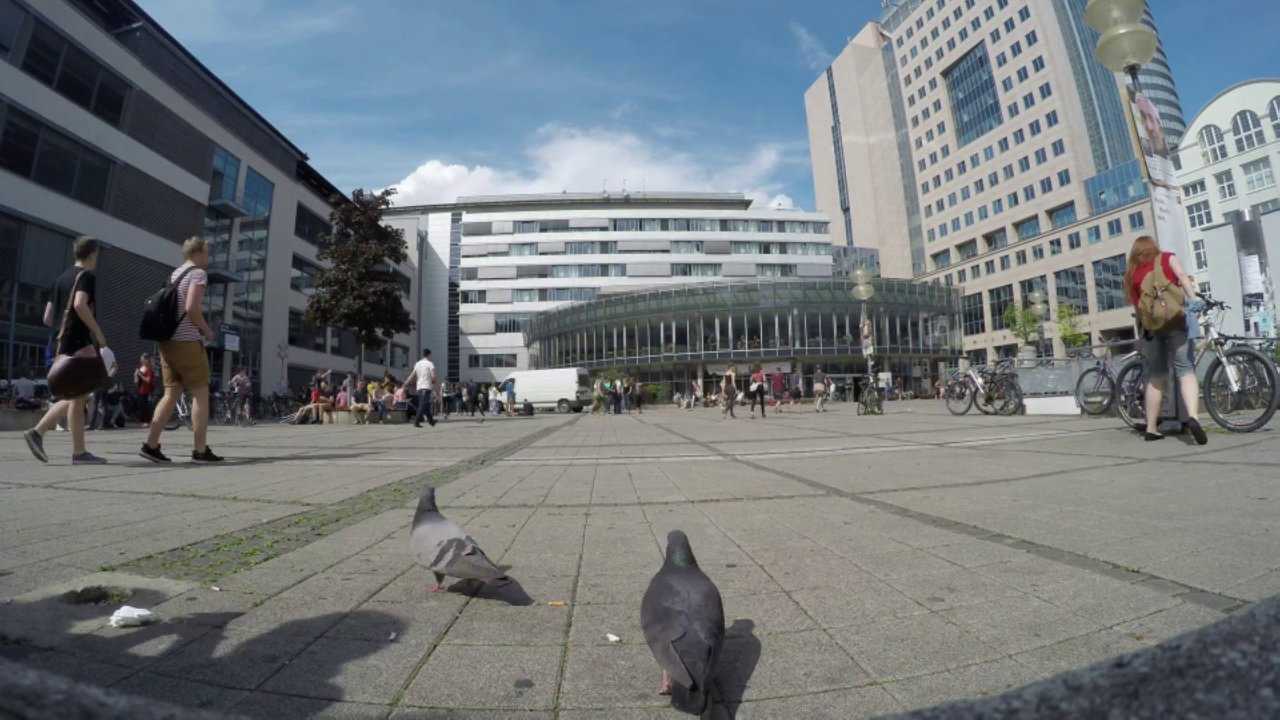
Videos that are more suitable for time-lapses are filmed from a stable camera position and show consistent movements such as clouds or people passing by. The unchanging background is more coherent for a time-lapse and the viewer can more easily concentrate on the movements in the video.
Automatic Time-Lapse with the GoPro
As we already mentioned, there are two ways to make a time-lapse video. The first variant is only plausible for people who have a GoPro HERO3 or more advanced model since these cameras come equipped with a time-lapse mode build right into the camera. You can also set various time intervals between photos as well as the resolution of the video, thus making it an all-round package deal. Although it may sound really simple, there is a small drawback: you have to plan ahead quite a bit. If this sounds a bit too complicated for you, the second option might be best.
The shortest possible time interval between images that you can set on a GoPro is 0.5 seconds and the longest is 60 seconds. At this point you’ll have to consider how long you’ll be taking photos and how long the finished product should be. If you set an interval of 0.5 seconds, your video has to be at least 15 seconds long; with an interval of 60 seconds, you’ll have to shoot for at least 30 minutes. The intervals, therefore, have a large impact on the final length of your video. When making a time-lapse directly on your GoPro, however, it’s very simple and intuitive and thus suitable for those of you who would rather not have to edit your video too much after shooting.
Creating a Time Lapse with Subsequent Editing
The second method of creating a time-lapse video is more suitable for people who don’t have a GoPro HERO3 or better model or just like to manually edit their videos themselves. You can use GoPro Studio 2.0 to edit your videos, which can be downloaded for free here. It’s important to keep in mind here that the software isn’t used just to quickly play your video, but to create a time-lapse out of individual images. The effect of quickly showing several images one after the other will give the impression of a video when you’re done.
First, import your files in GoPro Studio 2.0. When doing this it’s important to keep in mind that the photos should be kept in a separate folder and not mixed together with others. The programme then automatically takes these photos and plays them in a time-lapse. Afterwards, you can adjust settings such as resolution, filters, etc., but this is not mandatory. After the video is converted, you can adjust the speed, quality, and other effects of the time-lapse. After exporting, the video is finished and you can either upload it to a video-sharing site such as YouTube, share it with the family, or whatever else you may want to do with it.